
Mastering Device Harmony: A Step-by-Step Tutorial on iPhone and Mac Synchronization

Mastering Device Harmony: A Step-by-Step Tutorial on iPhone and Mac Synchronization
Key Takeaways
- To make sure all your apps are synced, go to Settings > Your Name > iCloud on an iPhone or System Settings > Your Name > iCloud on a Mac. Enabled apps to make them use iCloud to store or transfer data.
- Use the Photos app to import media from your iPhone to your Mac, and consider purchasing iCloud storage for syncing data and apps that consume significant amounts of storage.
Once upon a time you’d need to regularly sync your iPhone with a Mac to transfer personal data, files, and even apps. While you can still do this if you want, most things should just pair automatically.
Most Things Sync Using iCloud
The process of syncing your iPhone with your Mac or Windows PC manually is a bit outdated since the arrival of iCloud and its gradual integration into our lives. You no longer need to plug your phone into your Mac to share data between the two, since most things sync automatically over iCloud.
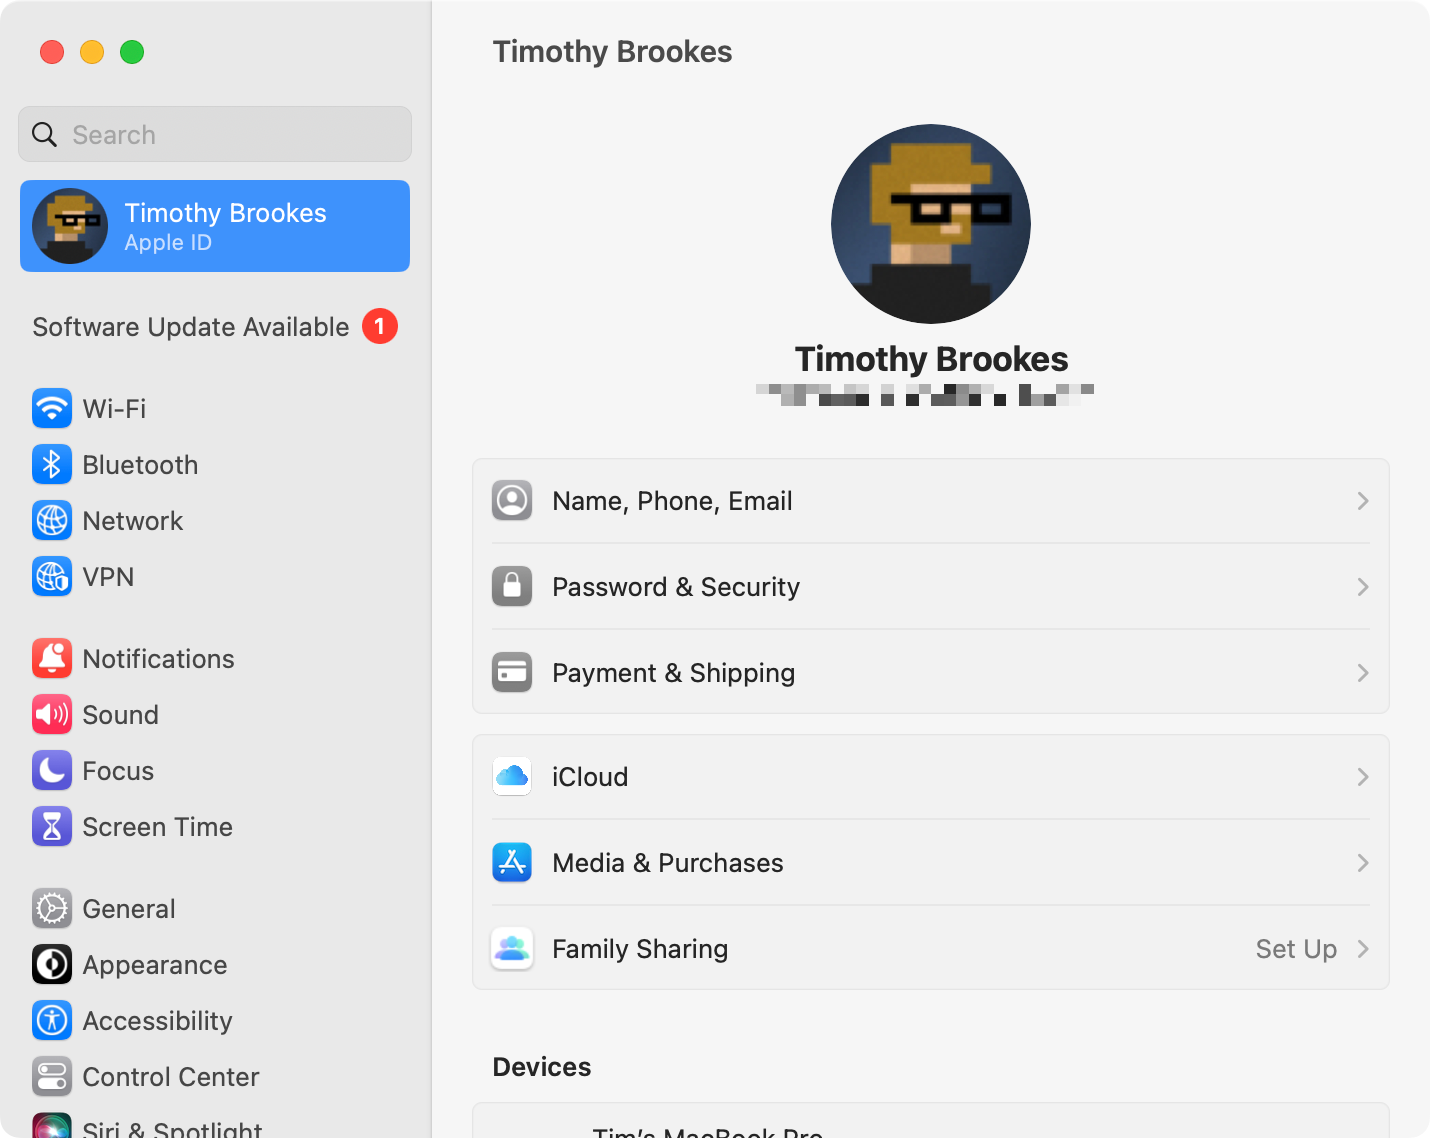
For this to work, you’ll need to be signed in to the same Apple ID on both devices. Make sure you’re signed in to the same account by launching Settings on an iPhone or System Settings on a Mac and checking that the same name and picture appear at the top of the menu on both devices.
By default, most core apps will use iCloud for storage purposes which pushes changes to all of your connected devices. For example, if you change a contact’s number or add a new to-do item in Reminders, these changes should appear in the respective macOS apps too.
To ensure all of your apps are using iCloud, and syncing data between your devices, head to Settings > Your Name > iCloud on an iPhone or System Settings > Your Name > iCloud on a Mac. If an app is disabled, it won’t use iCloud to store or transfer data but turning it on should merge data on your device with iCloud. Further down the list, you’ll also find Apple apps like GarageBand and iMovie, and below these you’ll see third-party apps you’ve downloaded from the App Store.
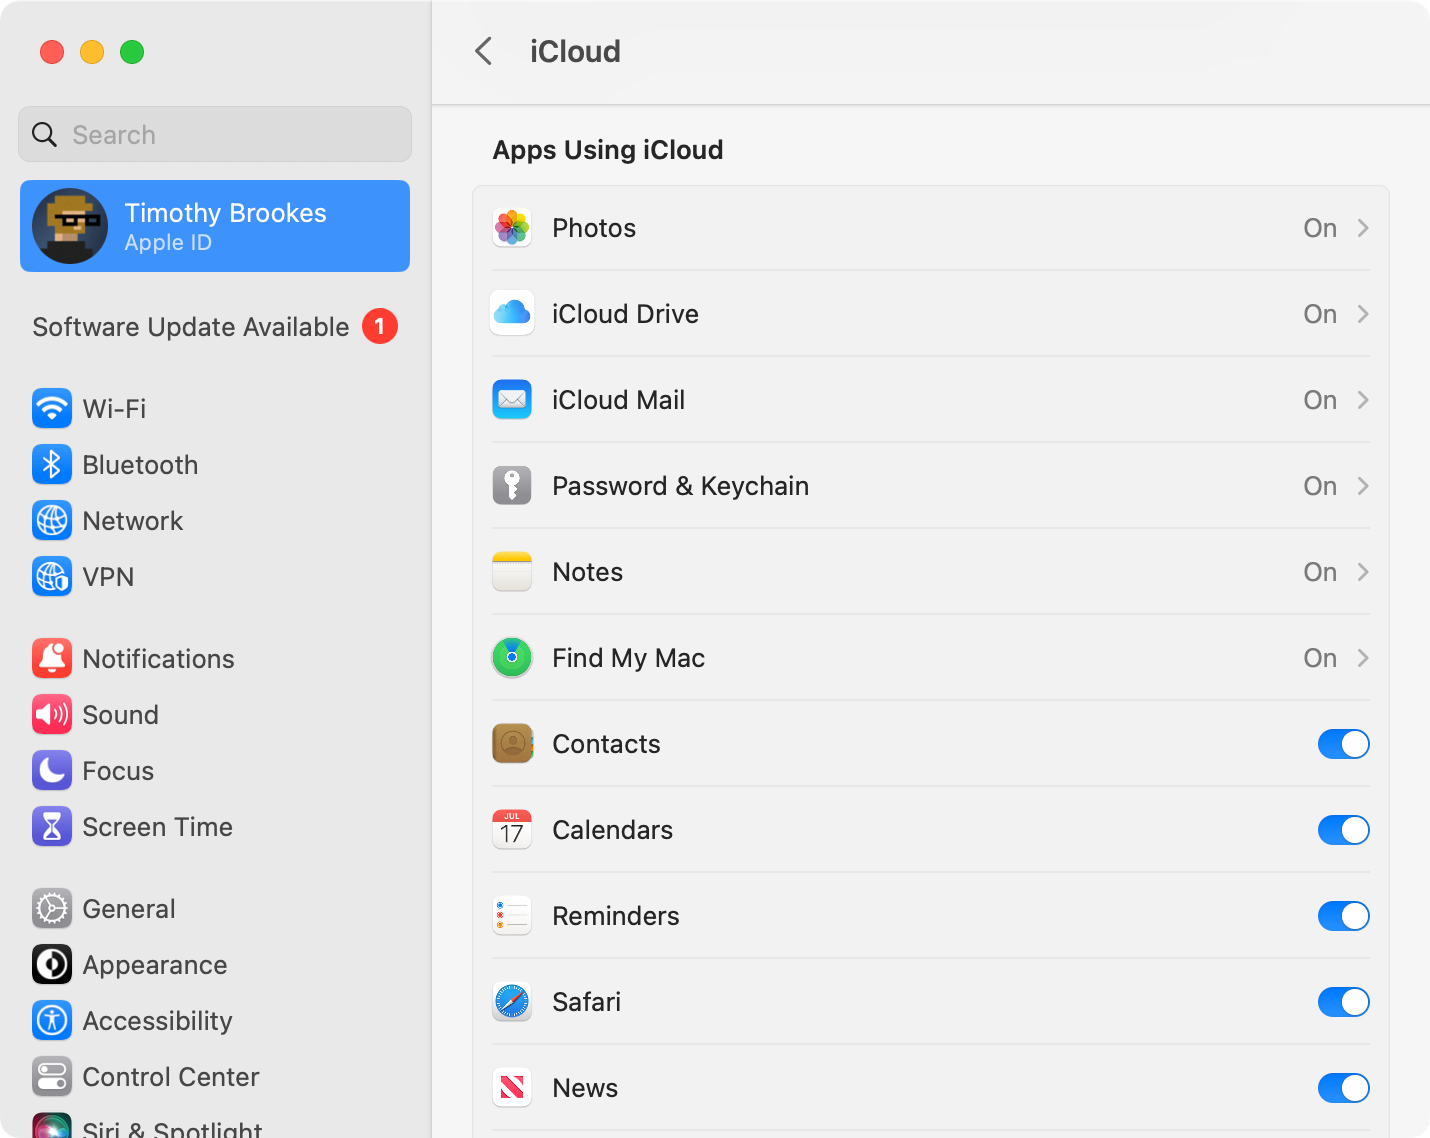
Some apps like Notes specifically allow you to separate data with “On My iPhone” and “On My Mac” storage options. This can be one of the reasons why your Apple Notes seemingly won’t sync over iCloud . Other settings and data will sync over iCloud, like passwords stored in your iCloud Keychain , Wi-Fi credentials, Safari tabs, and Apple Health data .

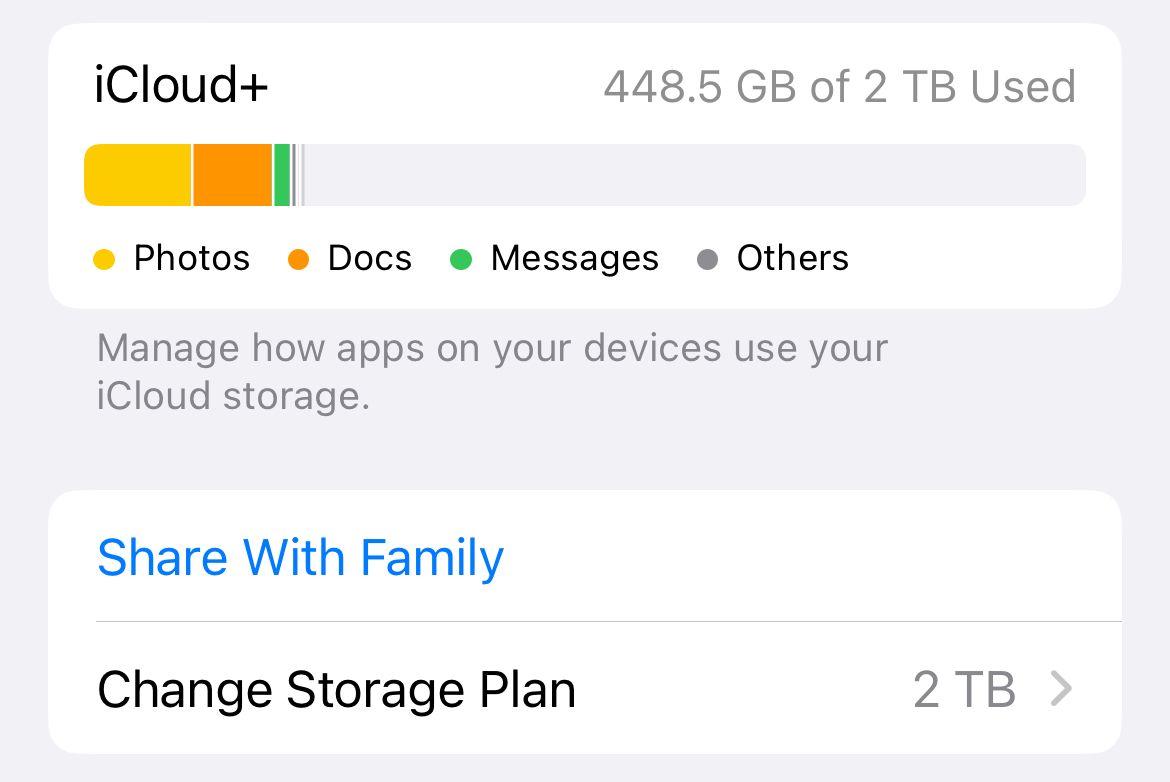
Data stored in iCloud will often take up iCloud Storage Space, of which you get 5GB by default. There are some exceptions, like device settings, passwords, contacts, reminders, calendars, and Health data. You can view a breakdown of your iCloud usage under (System) Settings > Your Name > iCloud > Manage Storage.
You Can Still Sync and Backup Manually Using Finder
Before macOS Catalina, iTunes was used to sync data over the iPhone. iTunes last appeared in macOS Mojave and now all syncing duties are taken care of right within Finder. The process is still almost identical, it’s just that you can now select your iPhone in the Finder sidebar rather than having to open iTunes first.
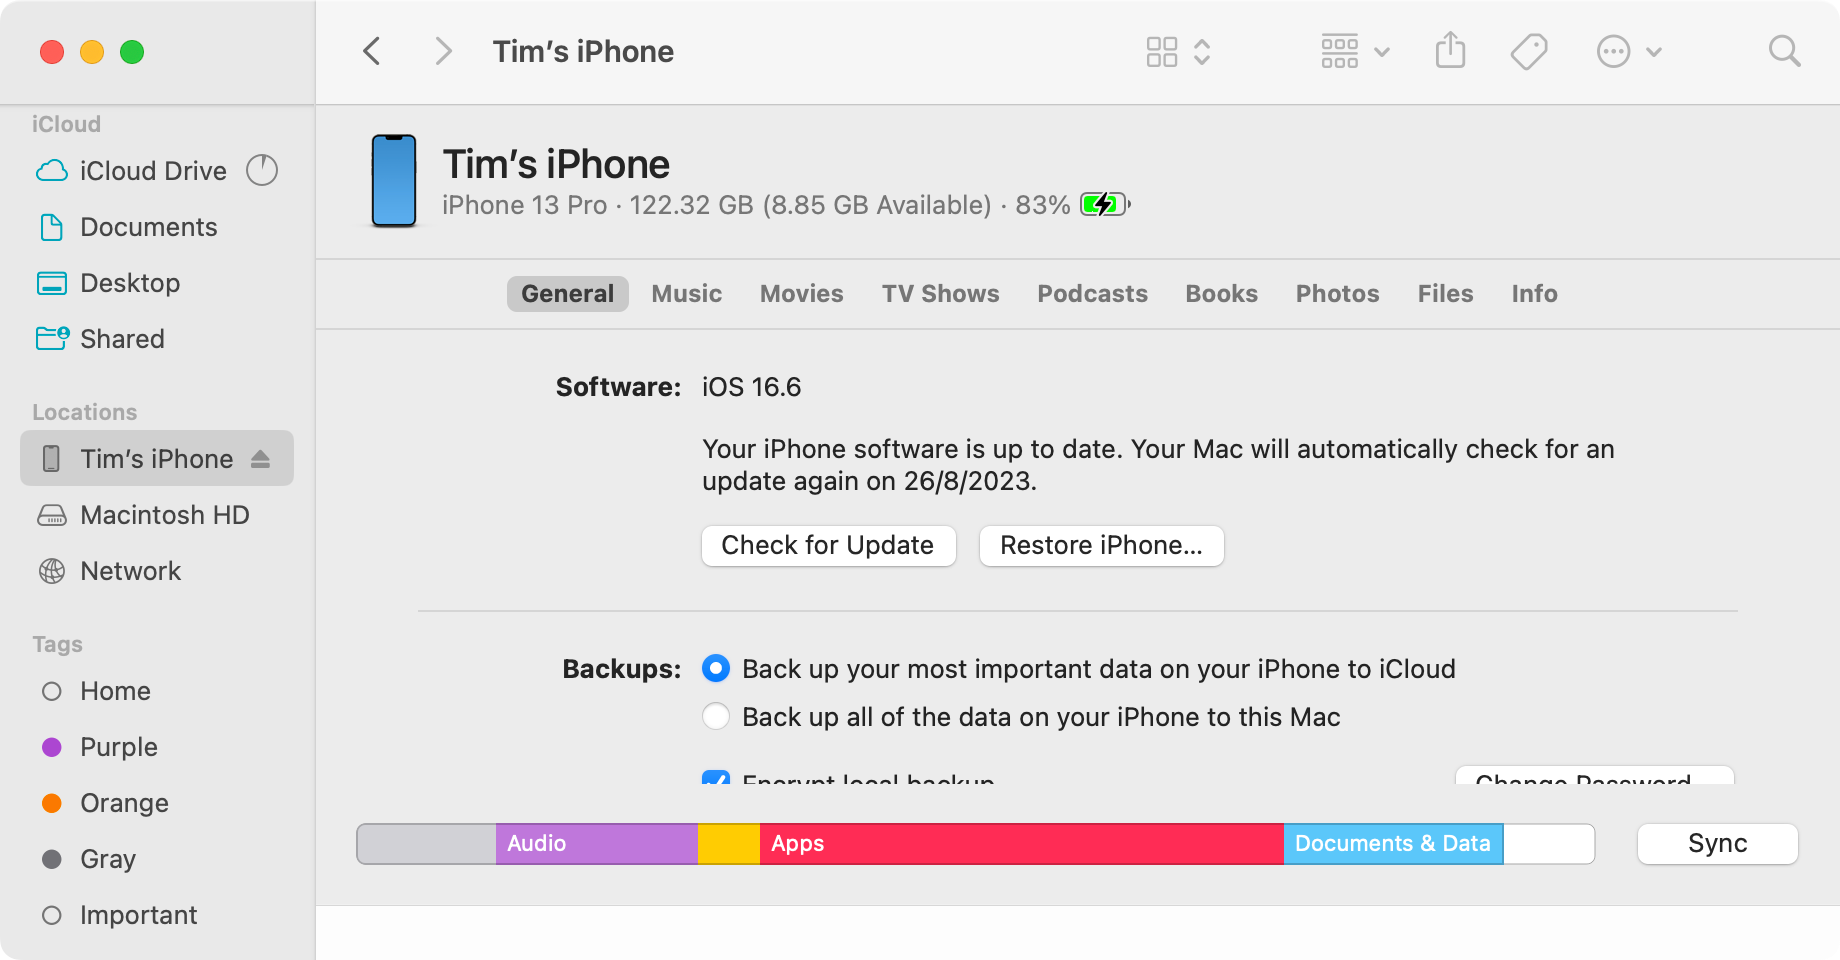
Connect your iPhone to your Mac with a suitable cable and grant access when prompted to do so (on your Mac, and your iPhone). Now open up Finder and under “Locations” in the sidebar select the iPhone you just plugged in.
On the “General” tab you’ll see options for updating and restoring your iPhone, as well as making local backups. Local backups are arguably one of the best reasons to plug in, they can be stored locally and quickly transferred back to an iPhone if need be (ideal if you’re thinking of resetting your iPhone to fix some sort of issue you’re experiencing).
On other tabs you’ll find options for syncing Music, Movies, TV Shows, Podcasts, Books, Photos, and more. If you’re using iCloud Music Library (with Apple Music) or iCloud Photos Library then you’ll be informed that you cannot sync manually.
Outside of backups, syncing large files using the Files tab is another good reason to plug in. Files lists all of the apps that you have installed that are storing data locally, allowing you to expand each one and then drag any files to a destination of your choice. Alternatively, you can drag files into this window and drop them over an app.
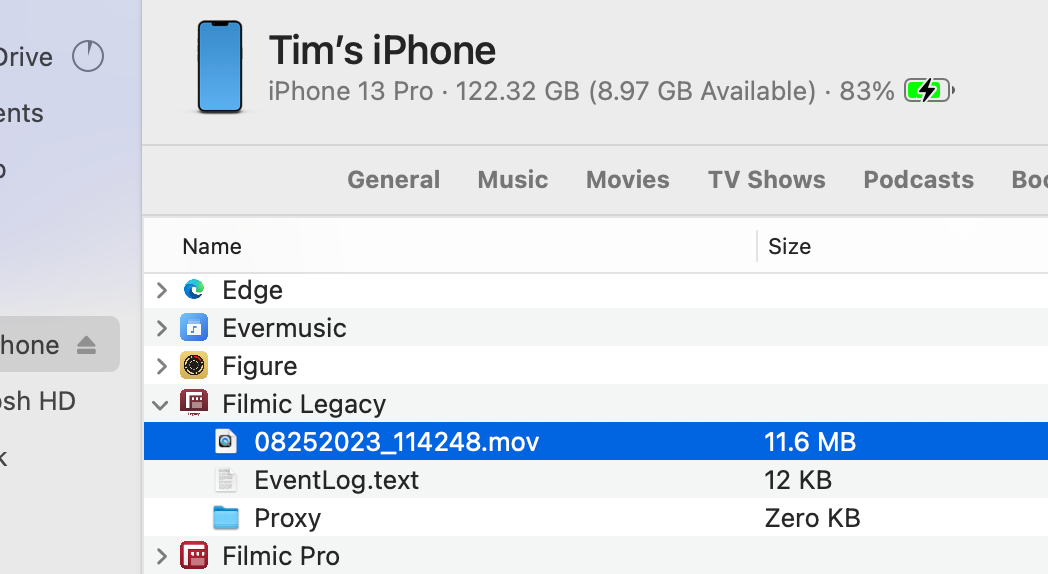
This is a much quicker way of transferring large or numerous files. For example, saving videos shot with an app like Filmic Pro to your Mac, or transferring a collection of tracker music files to an app like Modizer .
Sync Photos and Videos with the Photos App
If you’re only interested in importing your media to your Mac, you can do this using the Photos app instead. With your iPhone connected, open Photos and then choose your iPhone under the “Import” section of the sidebar. Photos will determine what is and is not in your library and you can click on “Import All New Items” to complete the sync.
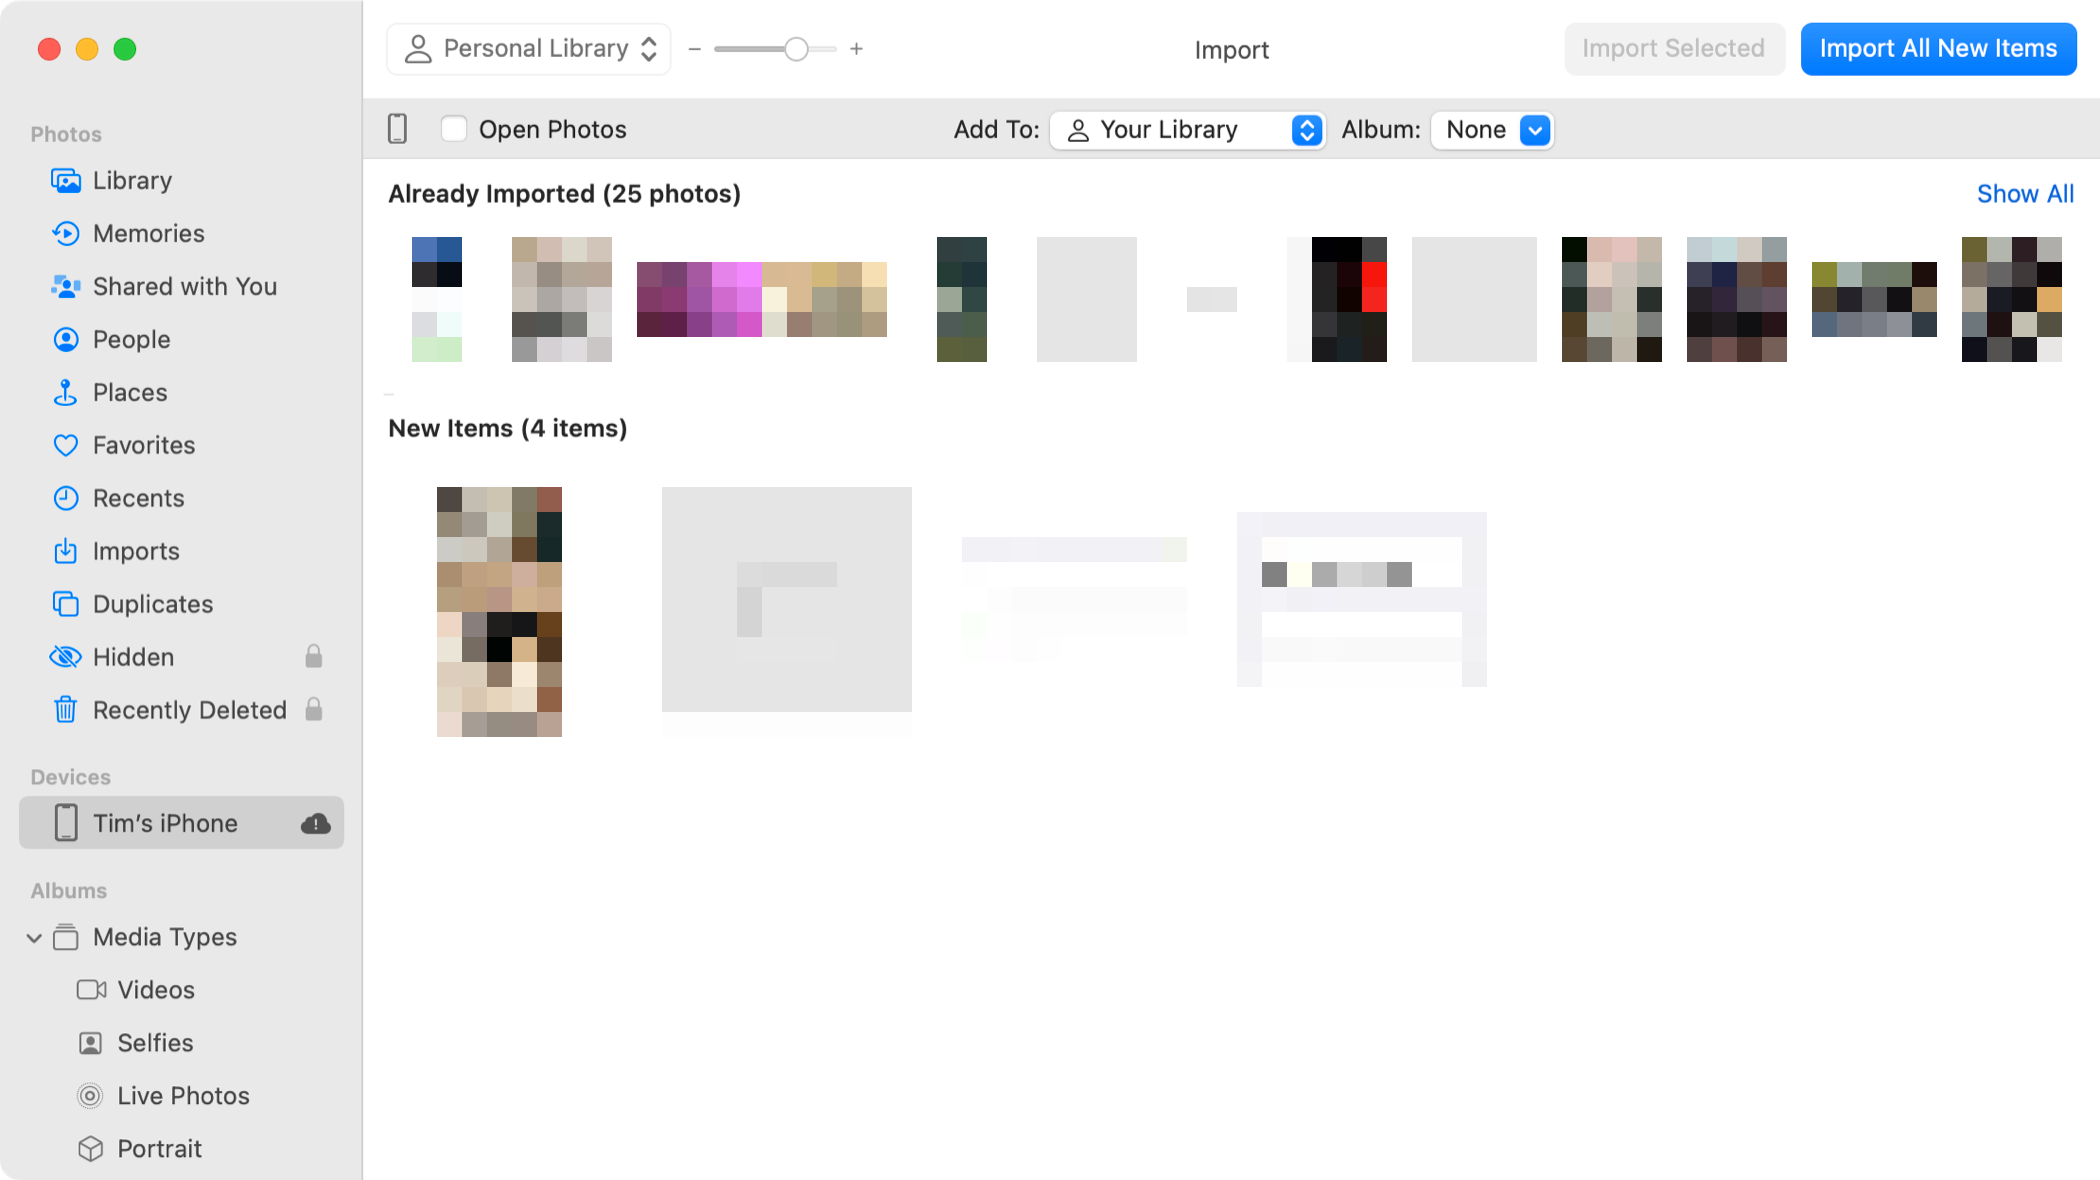
Items will be placed into your Photo library based on their metadata. You’ll also find a list of recently imported files under the “Imports” section.
Buy Some iCloud Storage for Best Results
To sync data and apps that consume significant amounts of storage, you’ll need to pay for an iCloud plan. This includes media like photos and videos, backups of your text messages (and files received), the contents of Apple Notes, backups, and basic cloud file storage.
Backups, in particular, are automatic, end-to-end encrypted , and mean that if ever you lose or damage your device beyond repair you can restore it to a new device without losing any data. Having iCloud backup enabled means never having to consciously think about making a backup, something that isn’t the case for Mac users .
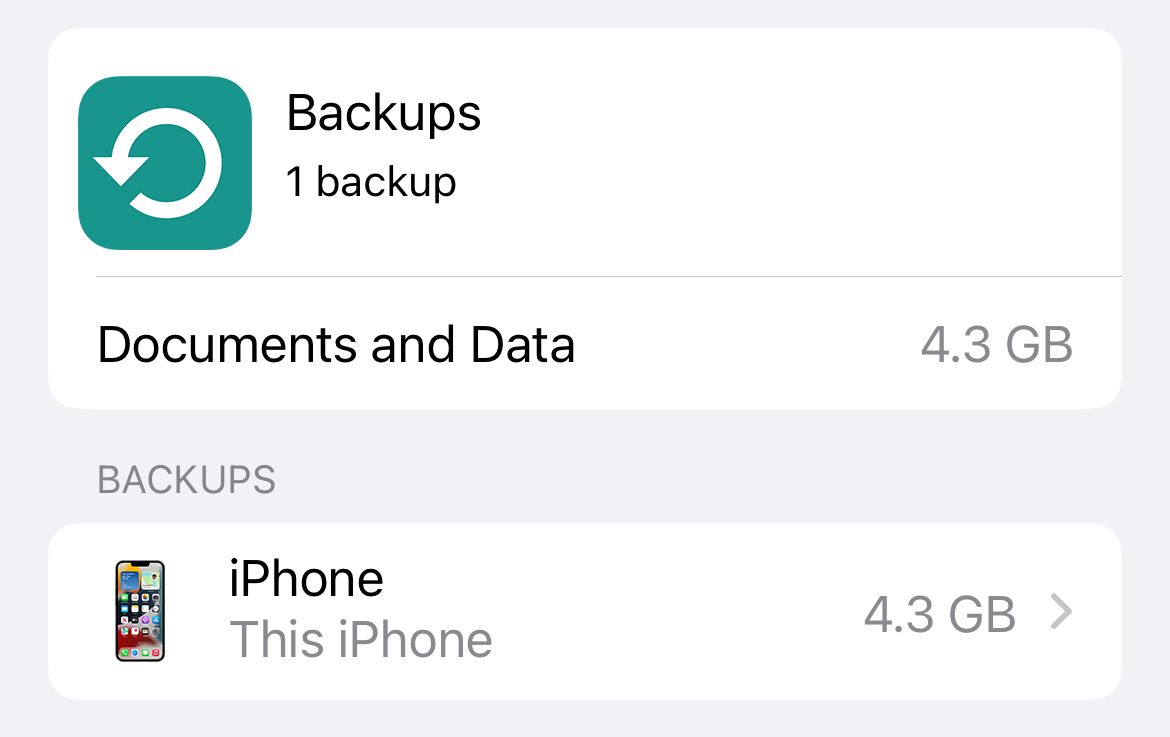
Since Apple disabled its Photo Stream service in mid-2023, storing your images and videos in the cloud using iCloud Photo Library (and iCloud Shared Photo Library ) is far more compelling than it once was. Photo Stream would push photos from your iPhone or iPad to your Mac automatically for a limited time, whereas iCloud Photo Library stores everything in the cloud.
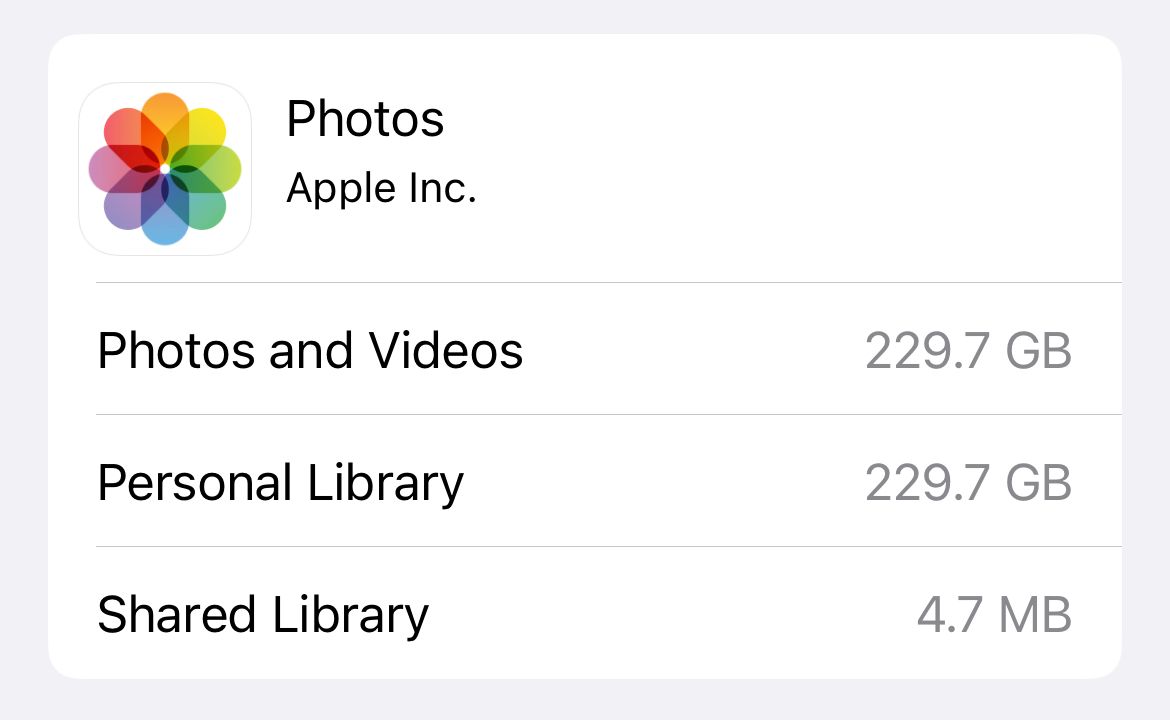
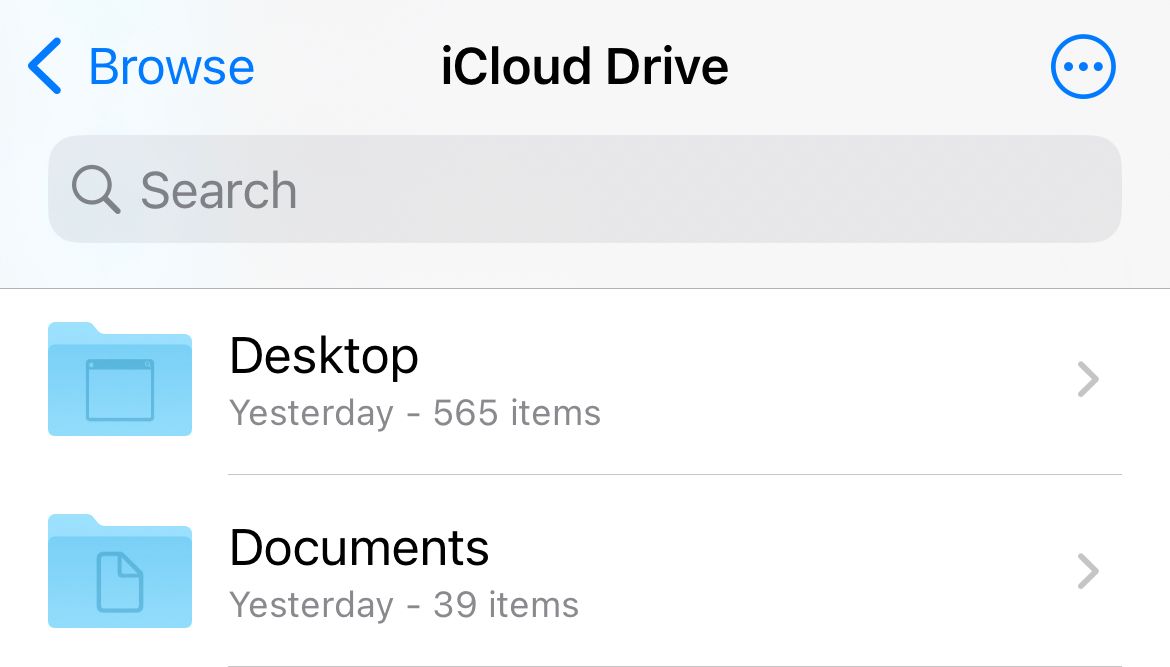
Similarly, Desktop and Documents sync makes your Desktop and Documents folder on your Mac available on all devices by storing the contents in iCloud Drive. It’s arguably one of the best uses for your spare iCloud Storage . Apps can also use iCloud Drive to store data, making this easily accessible on all of your devices. Just remember that data stored in the cloud rather than on local devices will eat into your available iCloud storage space.
Paid iCloud storage plans, known by Apple as iCloud+, start at $0.99 per month for 50GB with options at $2.99 (200GB) and $9.99 (2TB) for those who need more storage.
iCloud+ Comes with Other Benefits
iCloud+ subscribers also get access to iCloud Private Relay which anonymizes web requests, the Hide My Email alias service , HomeKit Secure Video storage , and the ability to set up Family Sharing to share your iCloud+ plan with up to five family members.
With such an emphasis on iCloud as a storage solution, iCloud storage tiers are long overdue for an update (and better value for money).
Also read:
- [New] 7 Free Video Editing Programs That Work Flawlessly for 2024
- [New] The Leaderboard of First Zeoid Innovations for 2024
- [New] Top Tech-Savvy Apps for Artful Picture Presentation
- [New] Unleashing Video Power The Galaxy S8 in 4K
- [Updated] Innovate with Ease Top Sites for Downloadable Text Extensions for 2024
- 4K Resolution Unveiled in Chroma-Focused Lenses for 2024
- Essential iPhone Security Tip: Protect Your Phone From Theft with These Steps
- Experience Classic DOS with New iDOS 3 Version - Your One-Stop Shop Store Destination!
- Exploring the Apple Vision Pro: Welcome to the Dawn of Facial Recognition Technology
- Extend Your iPhone's Power Cycle: Top 5 User-Friendly Tips for Longer Battery Life
- Get On Schedule Smartly - Discover How Google Maps Helps Timing Your Journey Perfectly
- Guide: Disabling 'Do Not Disturb' Feature on Your iOS Device
- How Cozi Revolutionized Our Family's Daily Routine: The Ultimate Organizational Tool
- Illuminate Your Night with Ease: The Ultimate Trick to Enable iPhone Flashlight via Backside Pressure
- Inside Apple's Latest Marvel - A Comprehensive Look at the iPhone 15 Pro with Revolutionary Titanium Frame & Enhanced USB-C
- ION Air Pro 3 Visionary - Revolutionizing Action Video
- New Transforming Podcast Content Into High-Quality MP3 Audio A Step-by-Step Guide
- Step-by-Step Solutions to the Persistent 'Windows Update Error' - 0X80070490 Resolved
- Unveiling the OnePlus 6T: A Perfect Blend of Excellence and Economy
- Title: Mastering Device Harmony: A Step-by-Step Tutorial on iPhone and Mac Synchronization
- Author: Daniel
- Created at : 2024-10-06 11:42:20
- Updated at : 2024-10-12 09:46:47
- Link: https://os-tips.techidaily.com/mastering-device-harmony-a-step-by-step-tutorial-on-iphone-and-mac-synchronization/
- License: This work is licensed under CC BY-NC-SA 4.0.