
Mastering Professional Email Management: A Top-Ten Guide to Utilizing Apple's Mail App on Your iPhone

Mastering Professional Email Management: A Top-Ten Guide to Utilizing Apple’s Mail App on Your iPhone
Quick Links
- Send an Email at a Later Time
- Unsend an Email You Just Sent
- Get Reminded to Follow Up on Your Sent Email
- Use Remind Me to Never Forget Replying to an Email
- Make Your Email Text Stand Out With Formatting
- Convert an Email to a PDF
- Use a Custom Signature
- Add Multiple Accounts and Set a Default Account
- Unsubscribe to Emails Faster
- Customize Swipe Actions
The Mail app on your iPhone can feel basic when stacked against its rivals. But it has many lesser-known features and tricks up its sleeve that can help you do much more than you might realize. Here are 10 tips to help you use Apple Mail on your iPhone like a pro.
Send an Email at a Later Time
One of the headlining features of Apple Mail is the ability to schedule emails natively on your iPhone. It’s a neat trick that gives you the freedom to compose emails in advance and schedule them to go out automatically on your specified date and time.
Scheduling an email in Apple Mail is easy , just tap and hold the send button to choose an option. You can schedule your email to go out on the same day, the next day, or a specific date and time, as per your requirements.
Unsend an Email You Just Sent
Another perk of using Apple Mail on your iPhone is that you can recall an email you just sent. This can come in handy when you send an email accidentally or realize an error in your email after sending it.
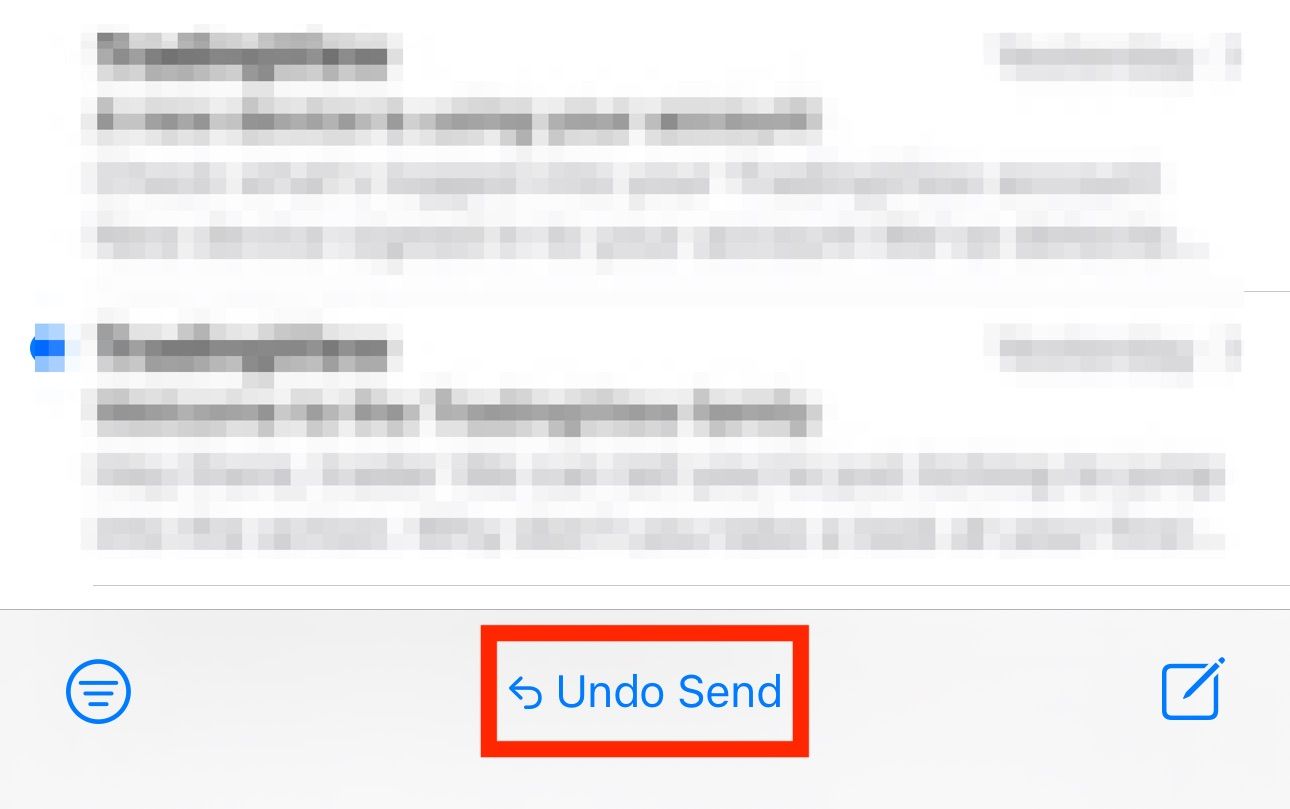
To unsend an email, tap the “Undo Send” button that appears at the bottom of the screen immediately after you send the email.
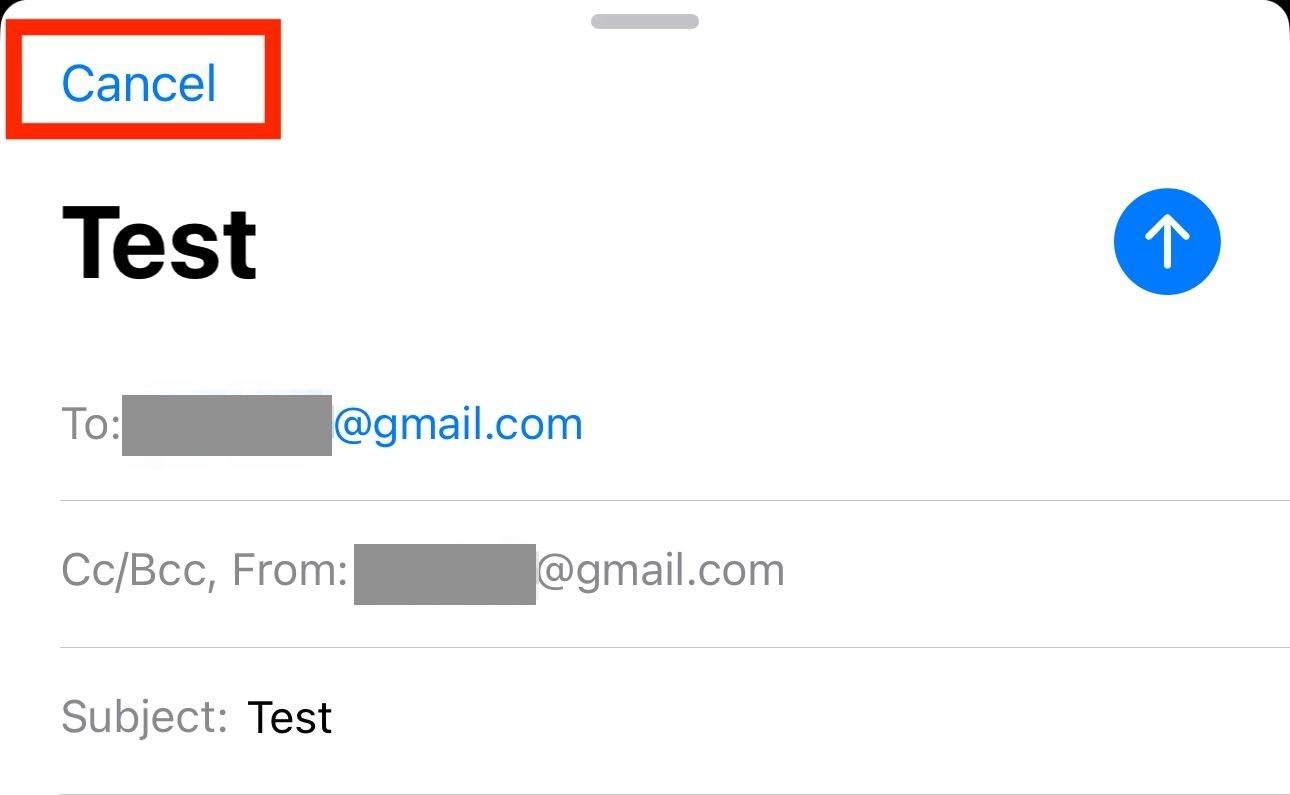
This will take you to the compose screen, where you can modify the email and send it again. Alternatively, hit the “Cancel” button in the top-left corner to cancel sending the email and move it to Drafts.
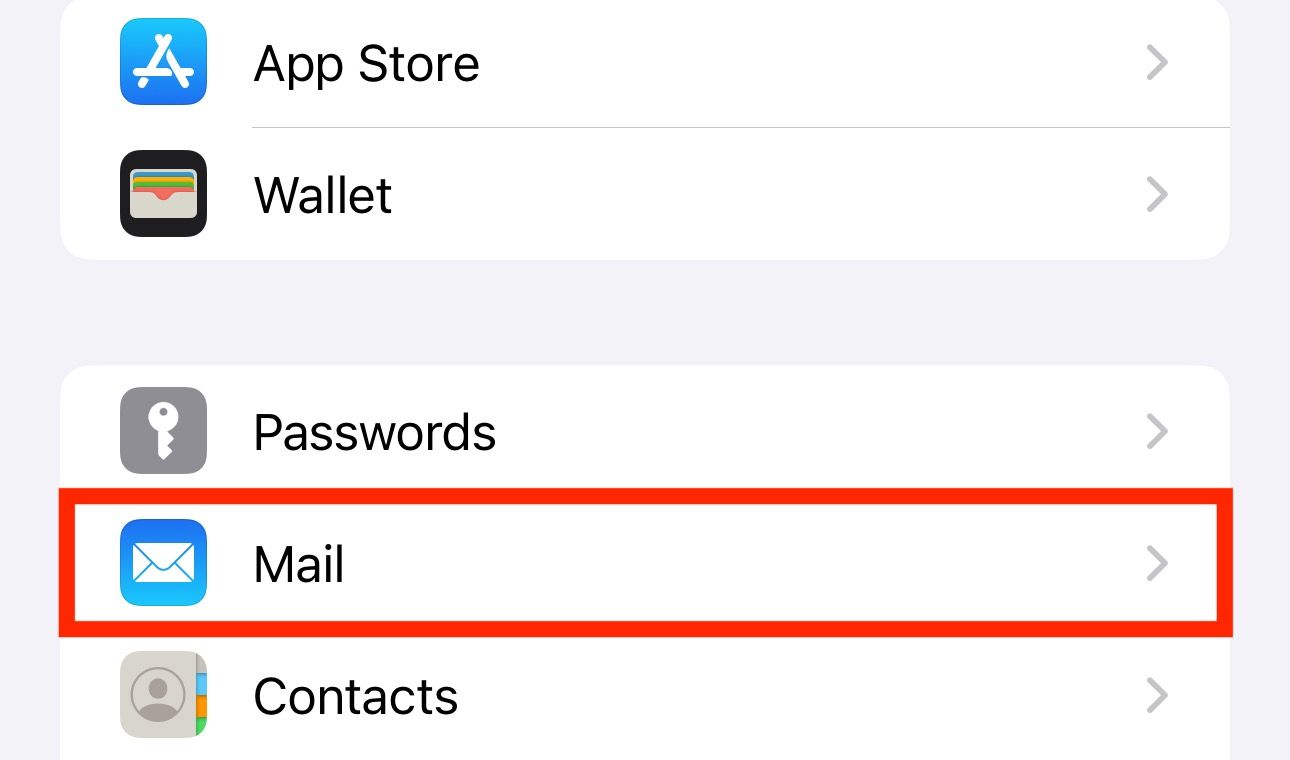
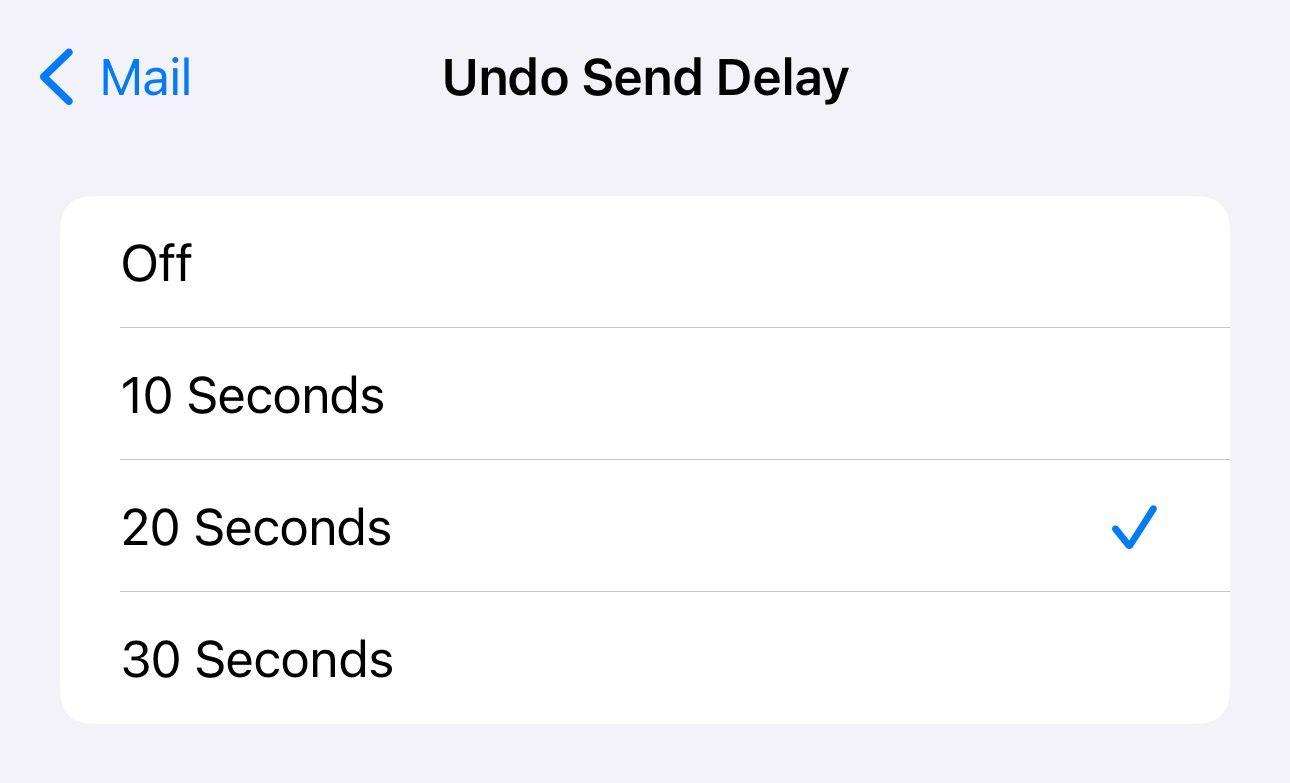
By default, Apple lets you recall an email for up to 10 seconds after you send it. But you can change this duration to give yourself more leeway to recall a sent email. To do this, go into the device Settings and select “Mail.”
Under “Sending,” tap “Undo Send Delay” and choose your preferred length of time on the following screen.
Get Reminded to Follow Up on Your Sent Email
It’s easy to forget to follow up with someone if you don’t hear back from them in due time. Apple Mail’s “Follow Up” feature tries to solve this problem by automatically resurfacing an email to the top of your inbox if it doesn’t get a response in three days, so you can quickly send a follow-up message. Follow Up is also available in Apple Mail on macOS .
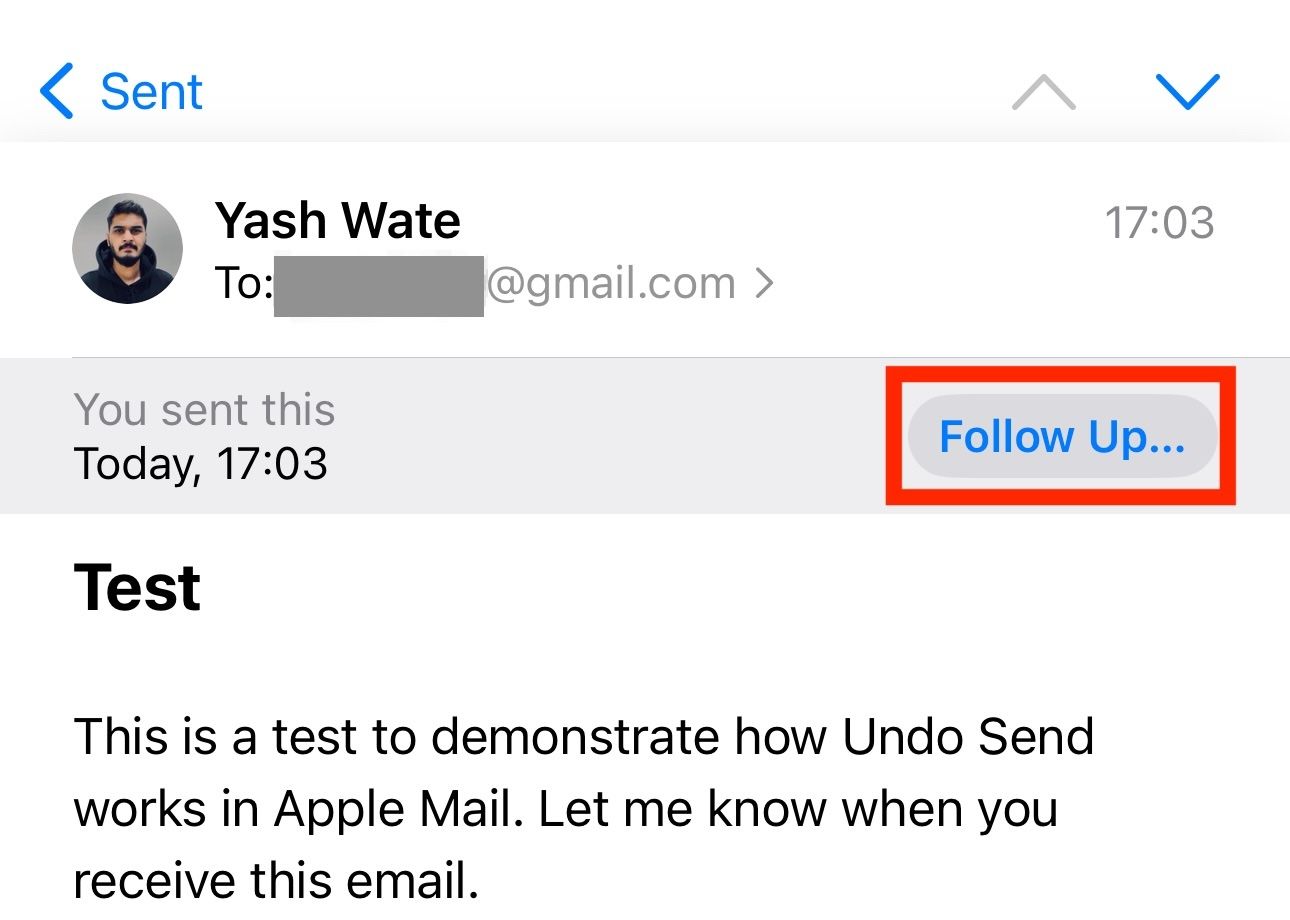
When the email returns to the top of your inbox, open it, and you’ll see a Follow Up button. Tap it to start composing a new reply.
Compose your follow-up message here and hit the Send button (with an upward arrow key) in the top-right corner to send or schedule it.
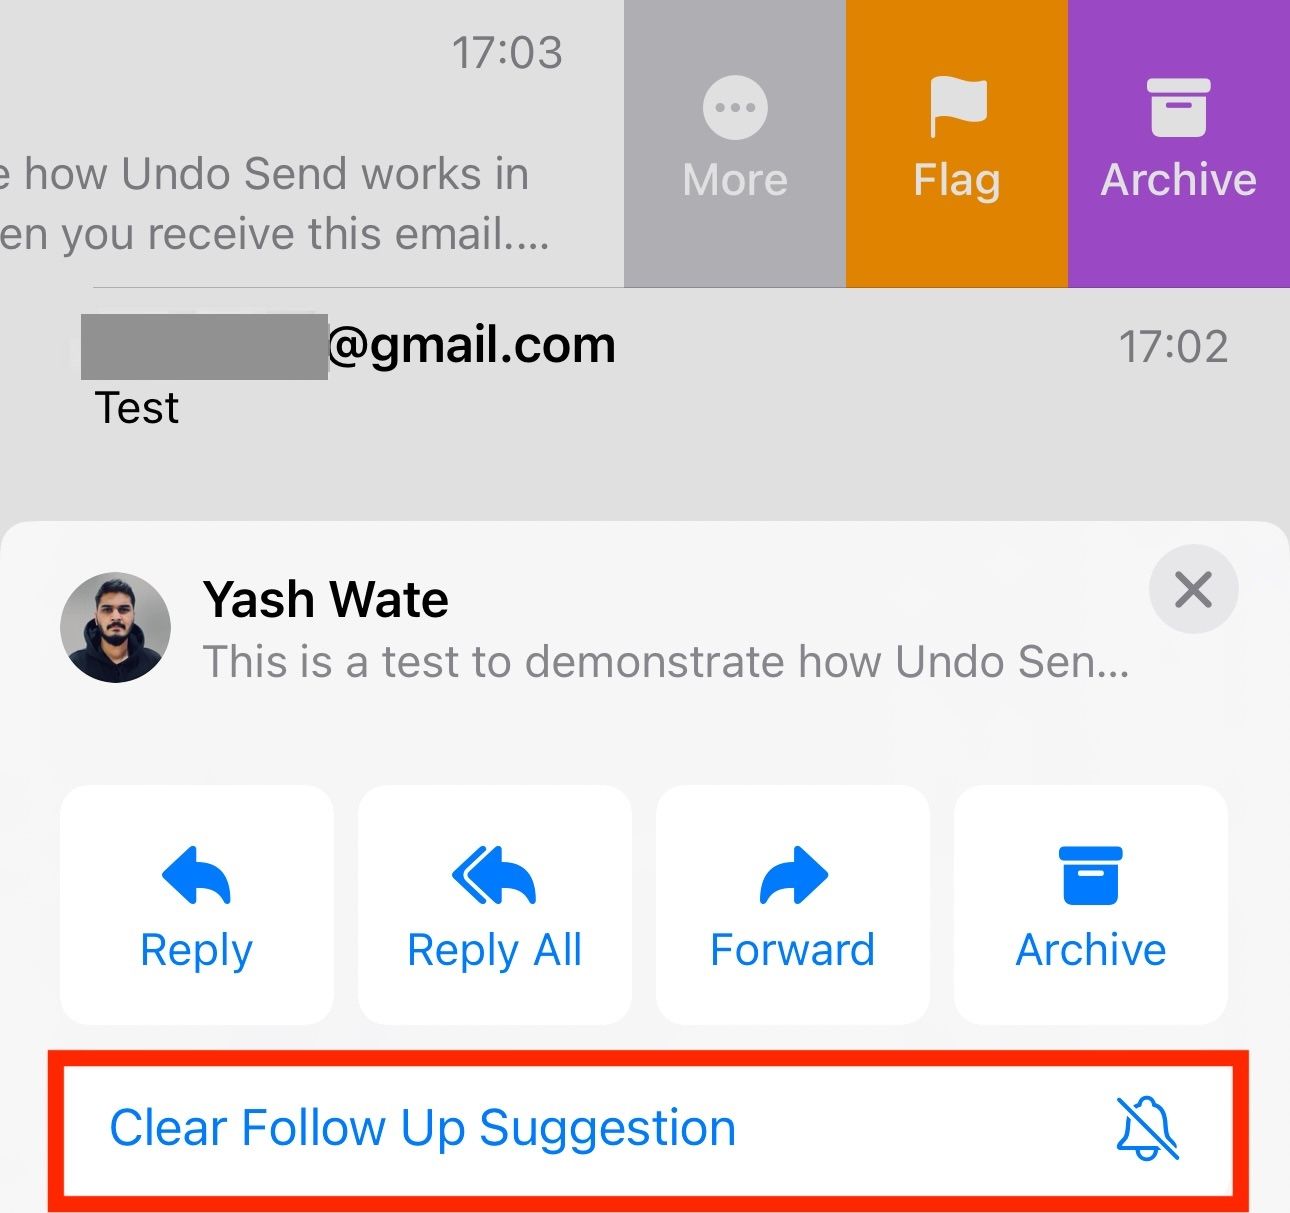
Alternatively, if you don’t want to follow up on an email, simply ignore the suggestion. To dismiss future follow-up suggestions for an email, swipe left on it, tap the “More” button, and select “Clear Follow Up Suggestion.”
Use Remind Me to Never Forget Replying to an Email
“Remind Me” is another Apple Mail feature that can make your life easier. It allows you to add a reminder to an email to get back to it at a specific time, so you don’t forget to reply.
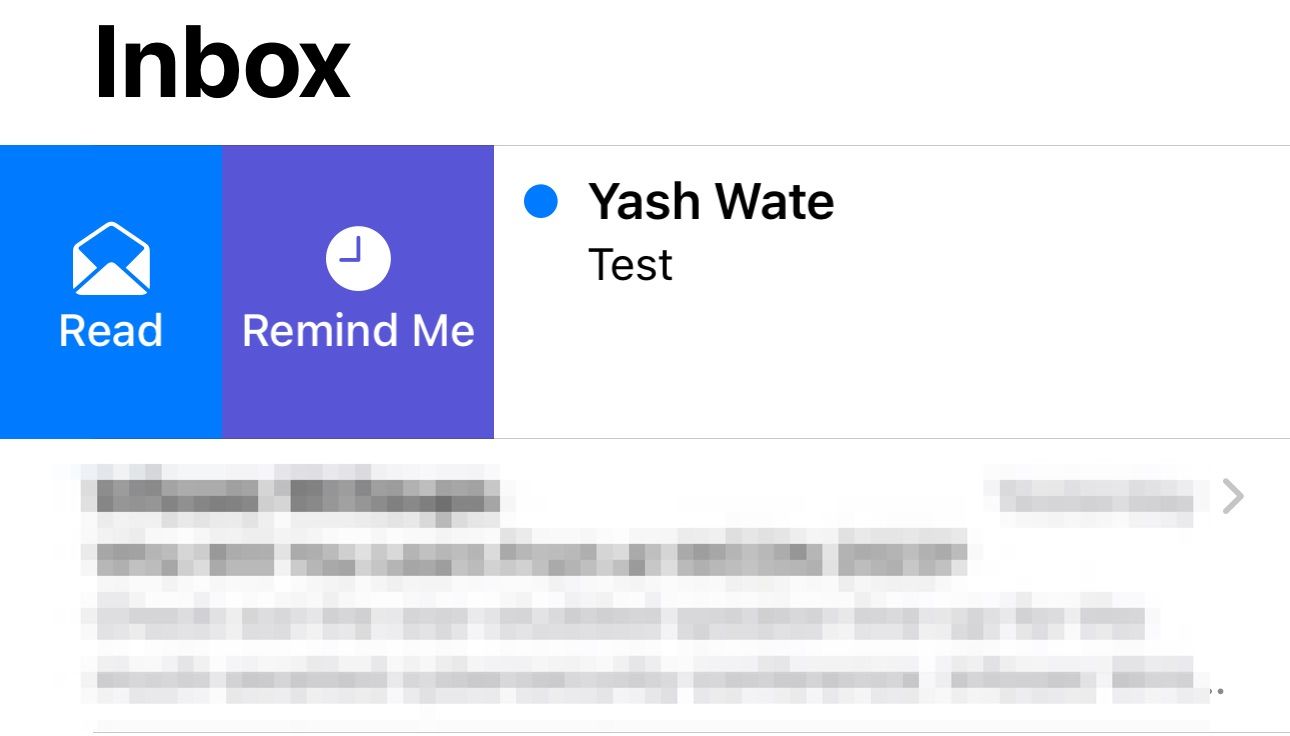
To set up a reminder, go to your inbox and locate the email for which you want to set up a reminder. Swipe right on it and select “Remind Me.”
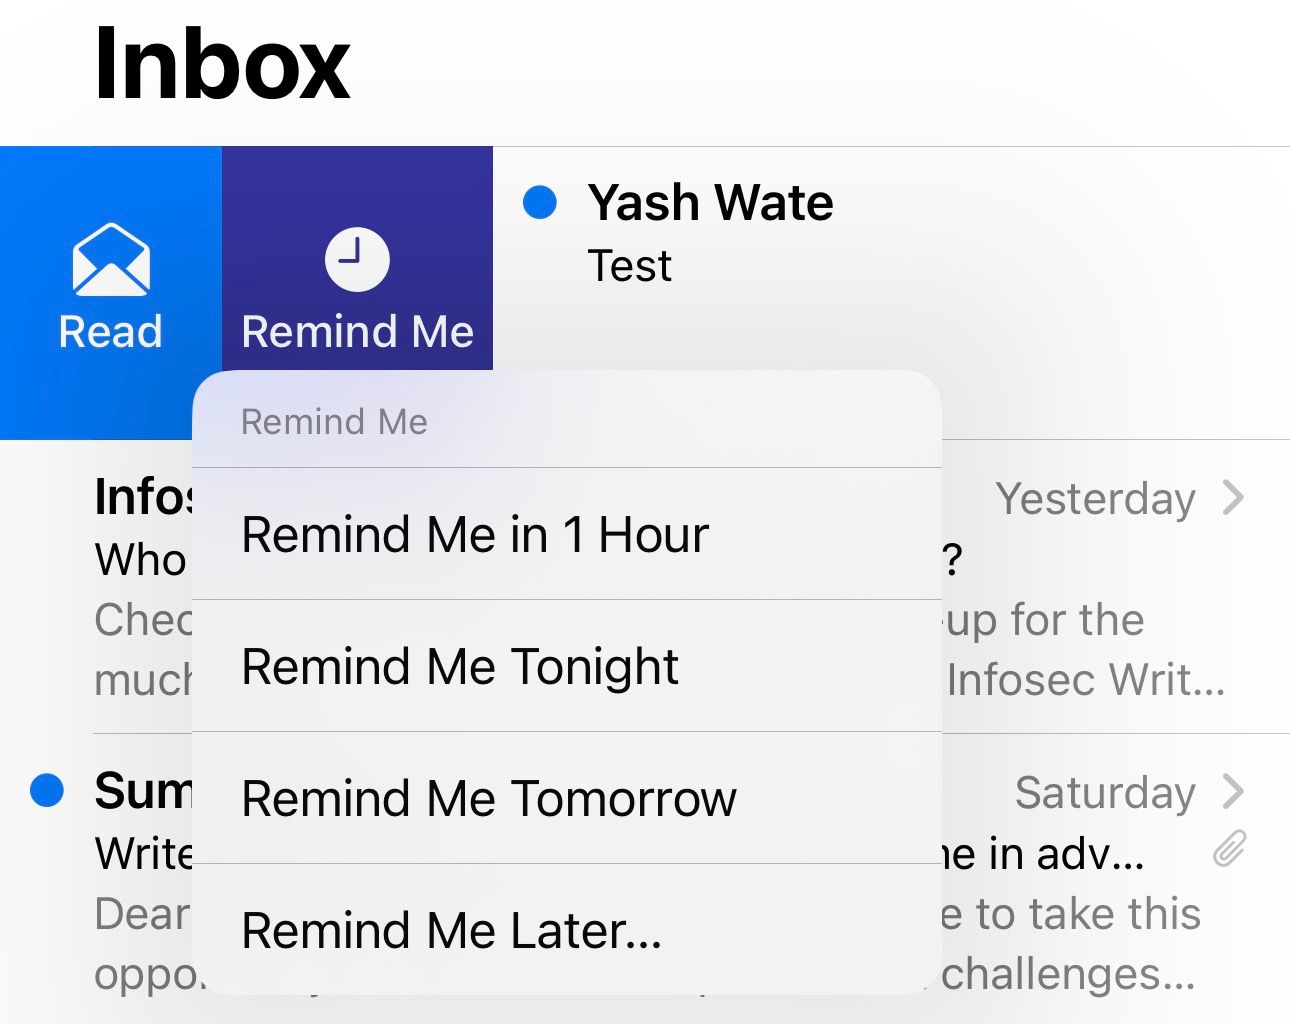
Now, choose an option from the pop-up. If you want to set a reminder for a specific date and time, select “Remind Me Later” and, on the following screen, set the date and time. Hit “Done” to set the reminder.
Once you’ve set the reminder, you can find it in the Remind Me folder under Mailboxes. You can also modify it if required. Make sure notifications for the Mail app are enabled on your iPhone for the reminder notifications to come through.
Make Your Email Text Stand Out With Formatting
Formatting your text allows you to convey the takeaway points or highlight the call to action in your emails more effectively. The Mail app has numerous formatting options to help you make your email text stand out.
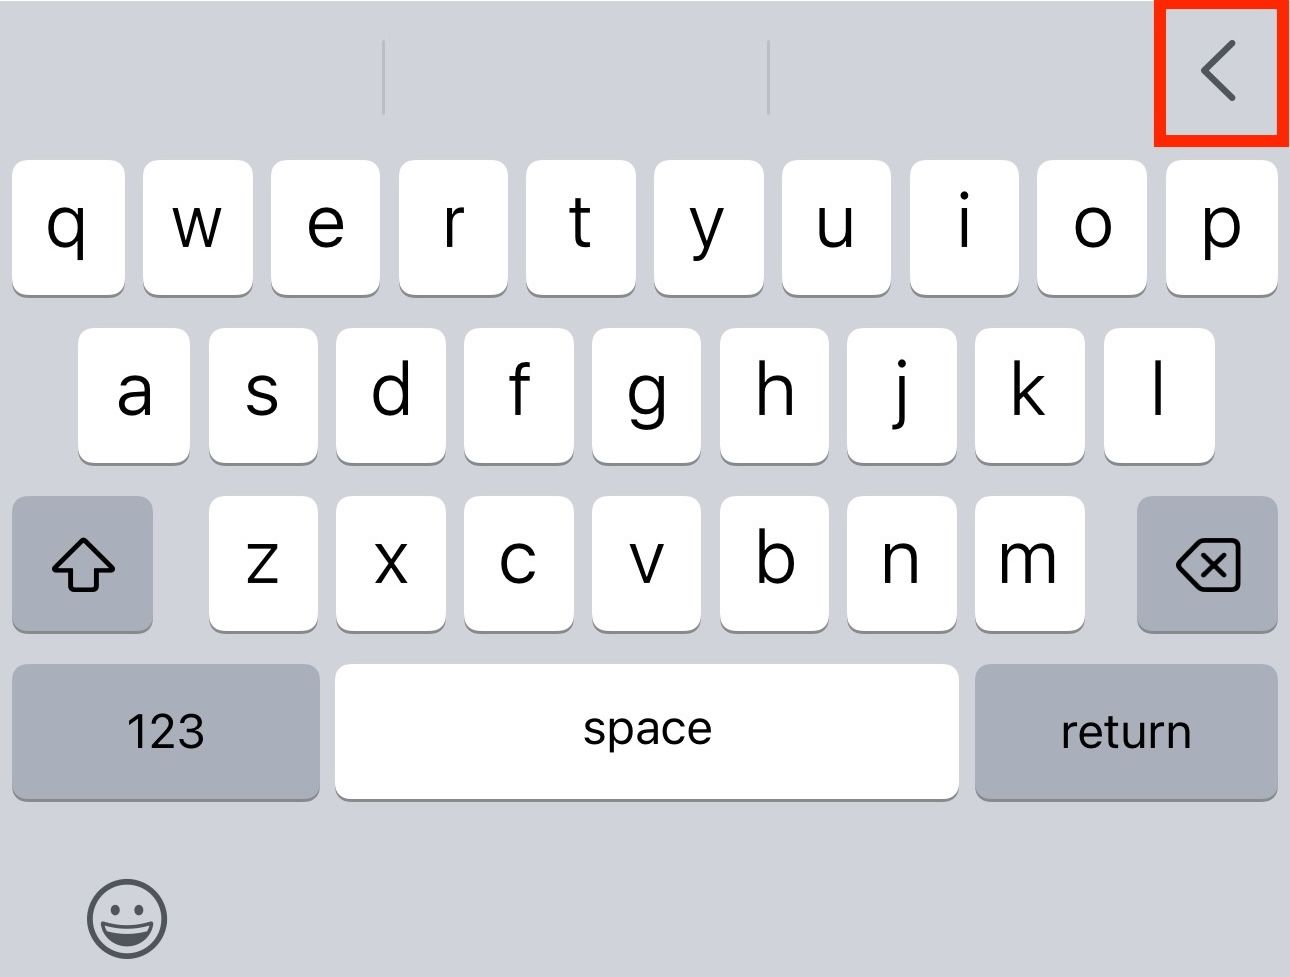
To access these options, hit the “<” icon at the top of your keyboard.
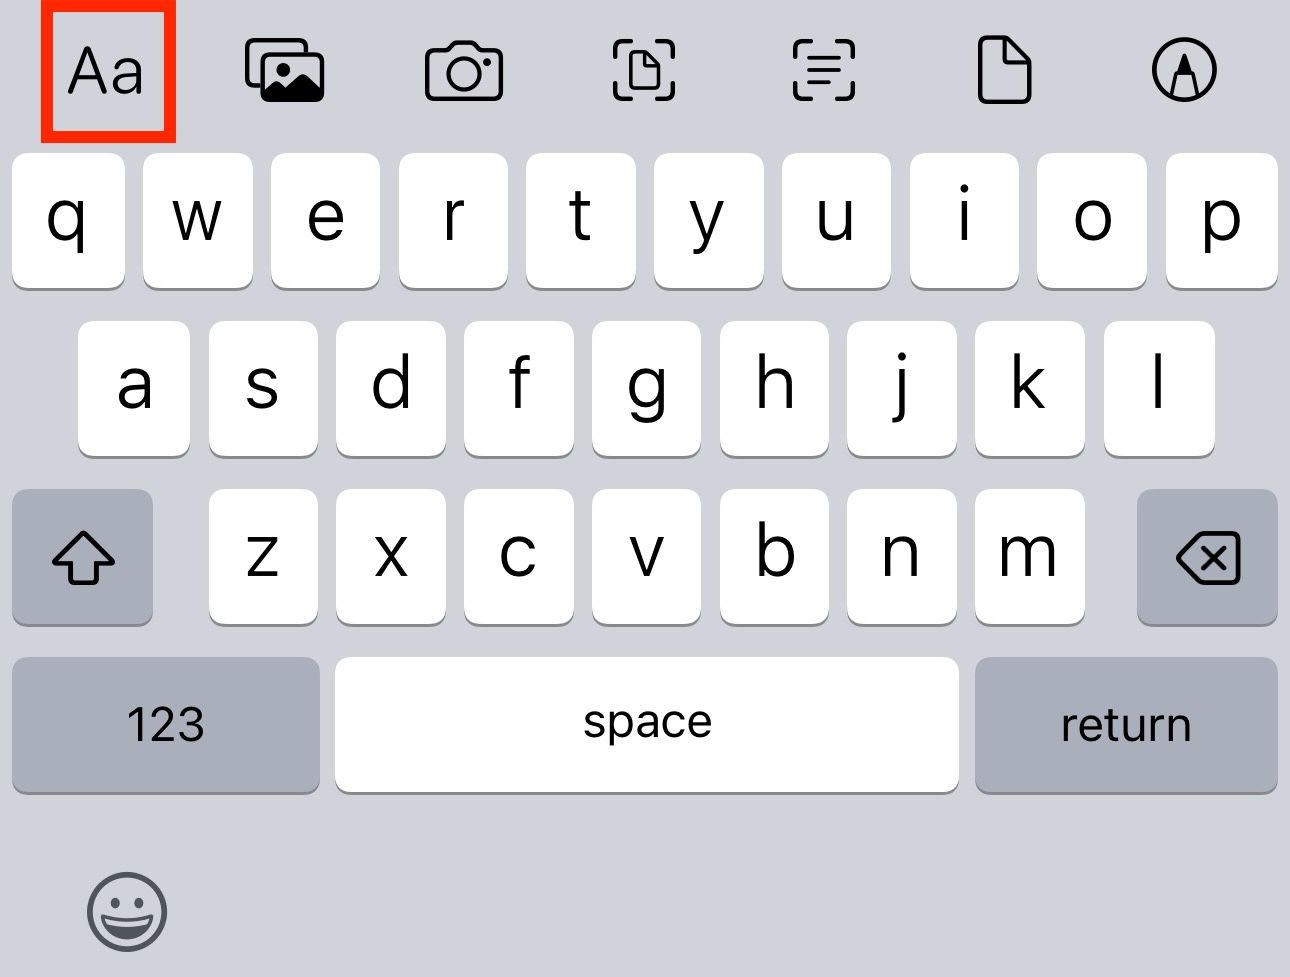
Then, tap the “Aa” button.
This will bring up the “Format” card with all the formatting options. From here, you can change the font family, adjust the font size, add numbered or bulleted lists, change the indentation, set the justification, change the text color, and do a bunch of other things.
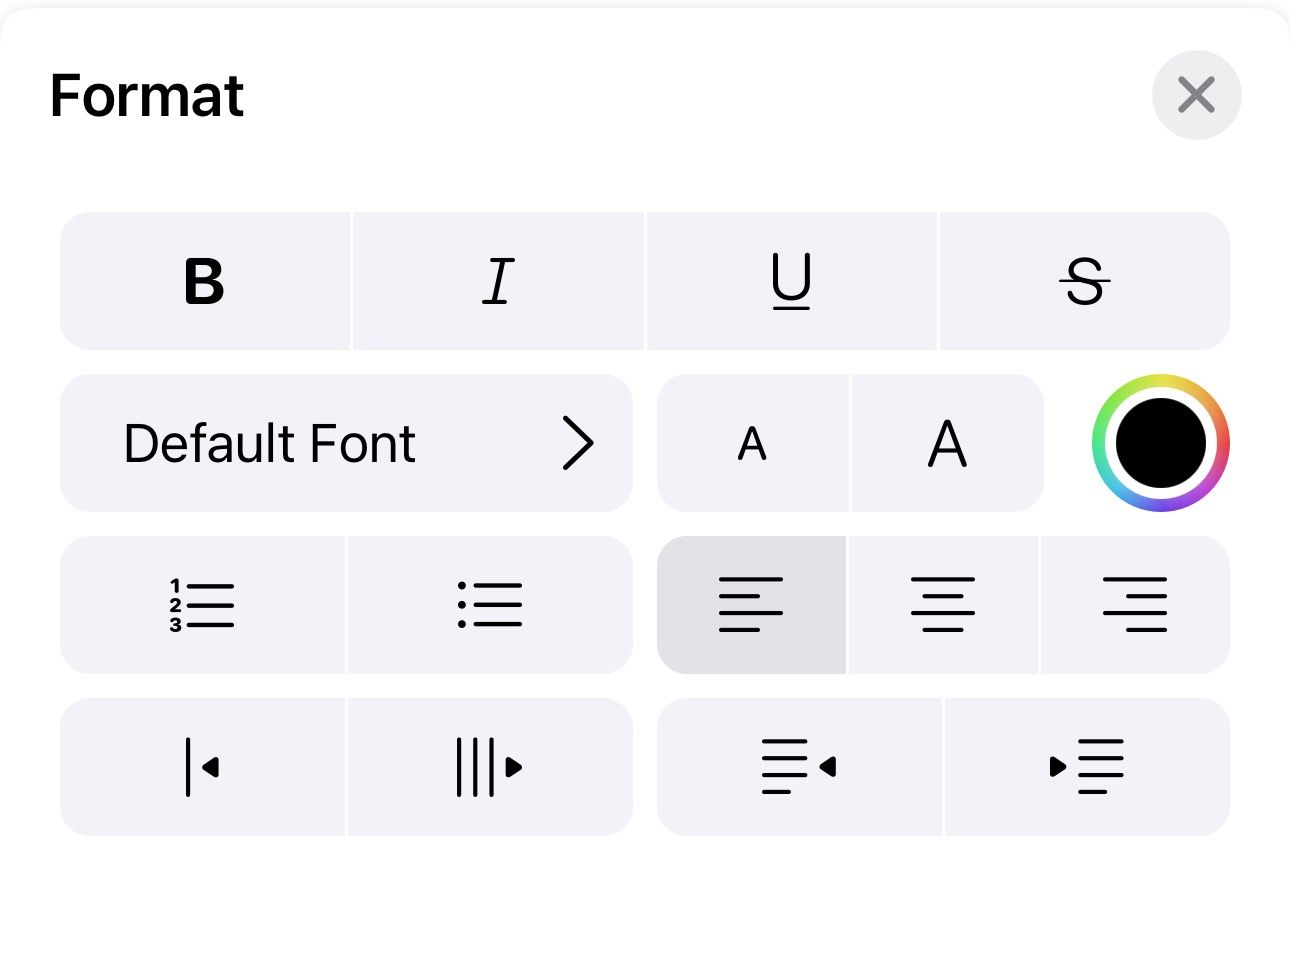
Simply select the text you want to format and tap an option on the Format card to apply it. Once you’ve finished formatting, hit the “X” icon to close the Format card and bring the keyboard back up.
Convert an Email to a PDF
If you want to save an email conversation offline or share it with someone, you can export it as a PDF right within the Mail app.
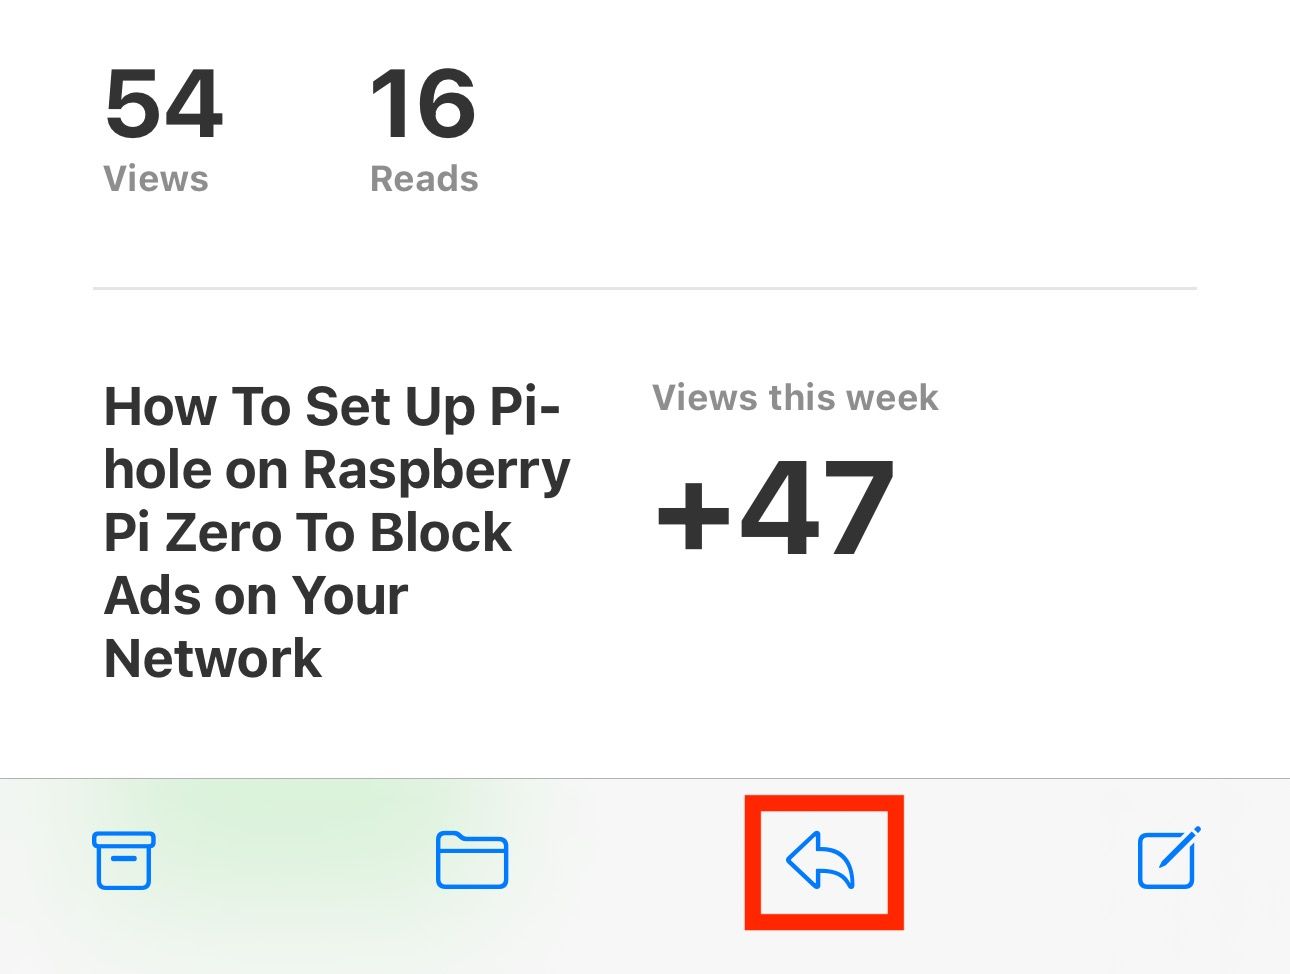
To do this, open the email you want to save as a PDF. Then, tap the reply button at the bottom of the screen.
Select “Print,” and it will show you a preview of the email.
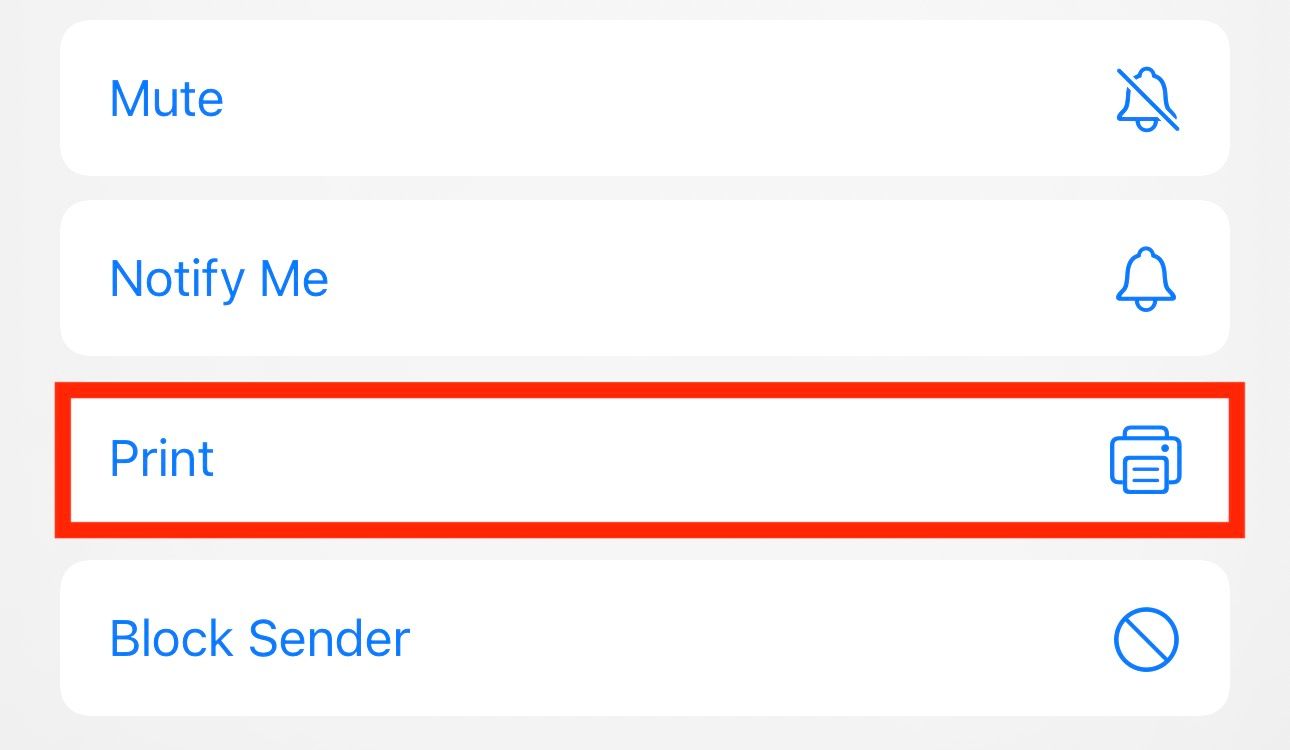
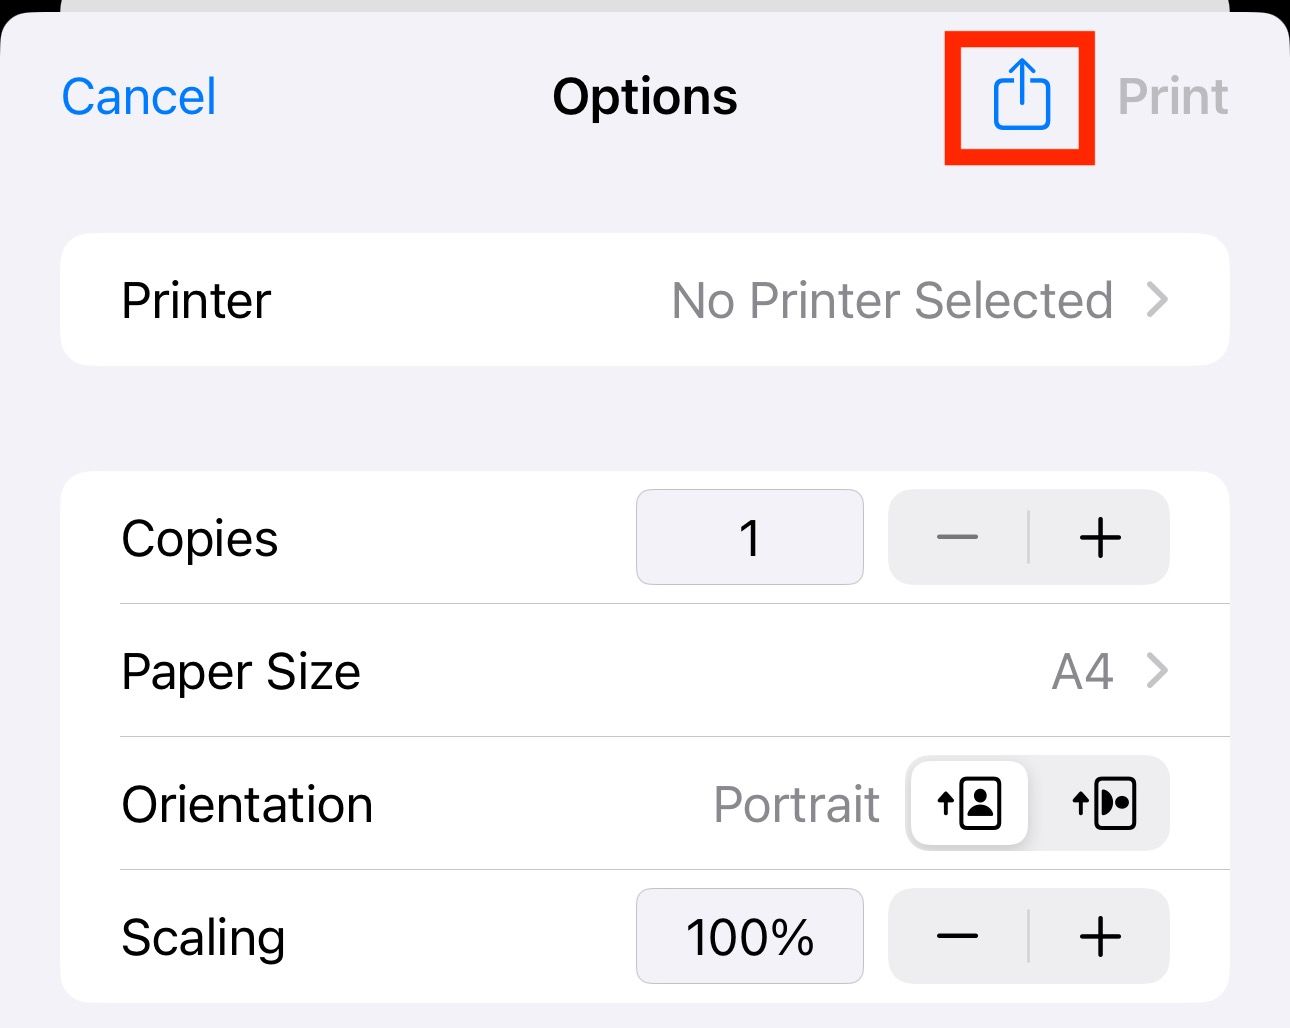
Depending on your email’s length, the preview might span multiple pages. When this happens, select the pages you wish to include in your final PDF. Finally, tap the Share button in the top-right corner.
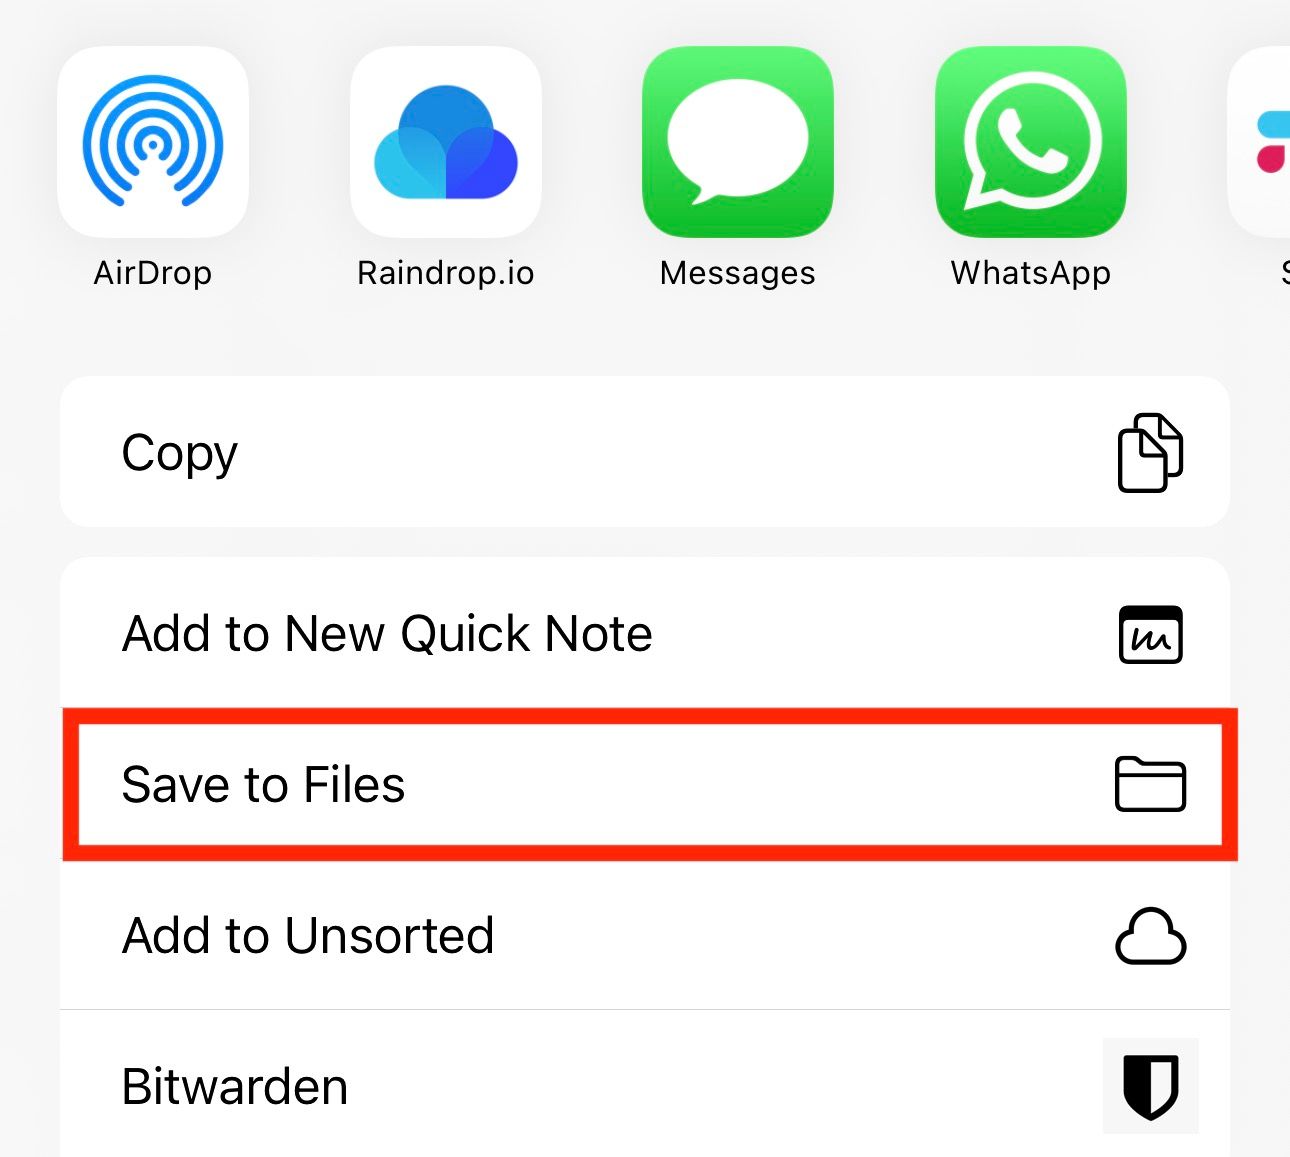
Select “Save to Files” and choose the location where you want to save the PDF.
Use a Custom Signature
An email signature serves many purposes. But more importantly, it adds legitimacy to your emails and makes you look more professional.
Apple Mail uses “Sent from my iPhone” as the default signature on your iPhone. However, it looks boring and unprofessional.
Thankfully, Apple lets you create your own signature in Apple Mail app on your iPhone , so you can add a more personalized touch to your emails. To do so, go to Settings > Mail > Signature.
Add Multiple Accounts and Set a Default Account
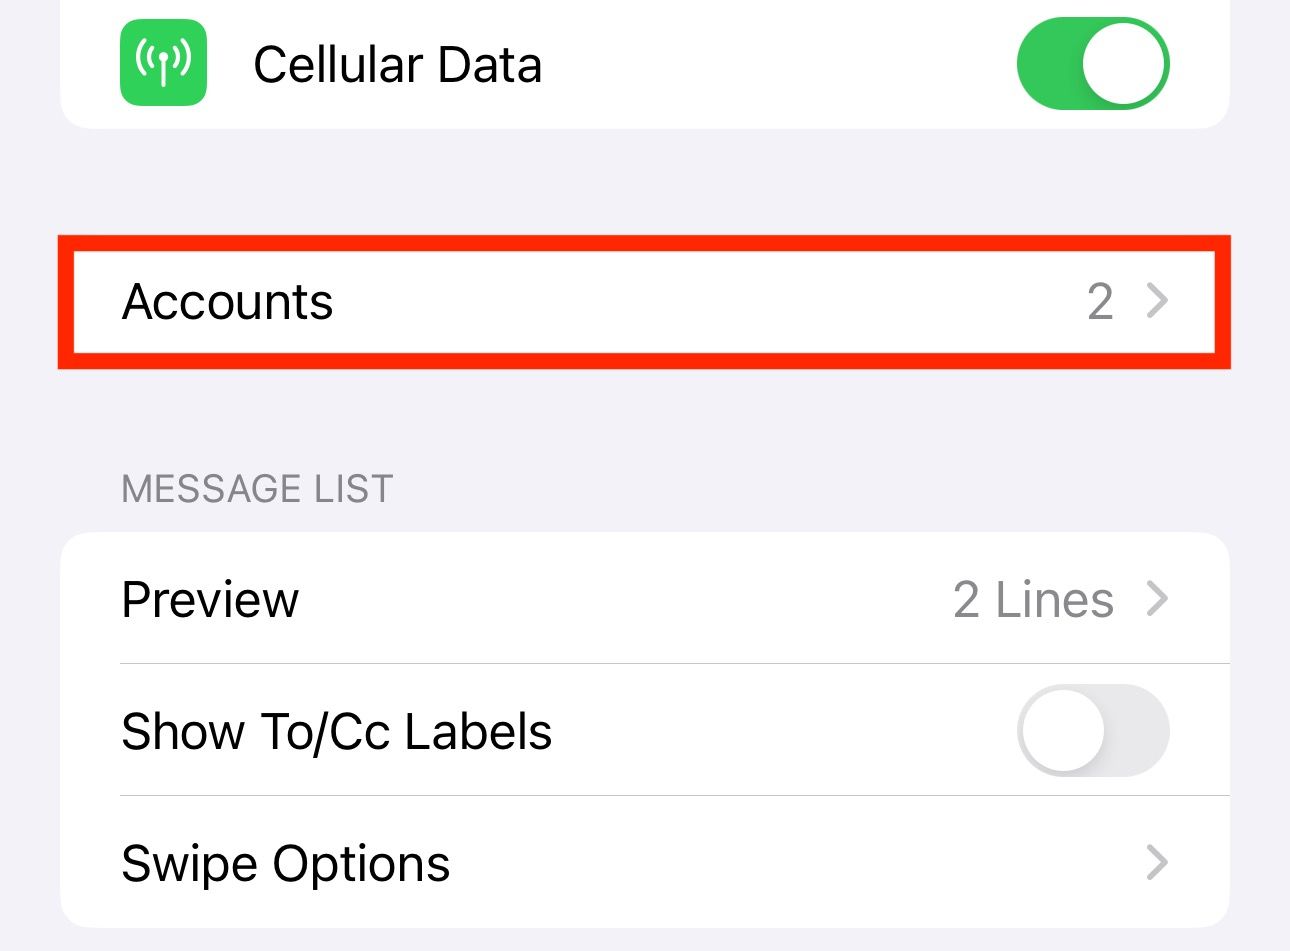
If you have multiple email accounts, adding them all to the Mail app on your iPhone can help you manage them more efficiently. To do this, head into Settings, select “Mail,” and tap “Accounts.”
Select “Add Account.”
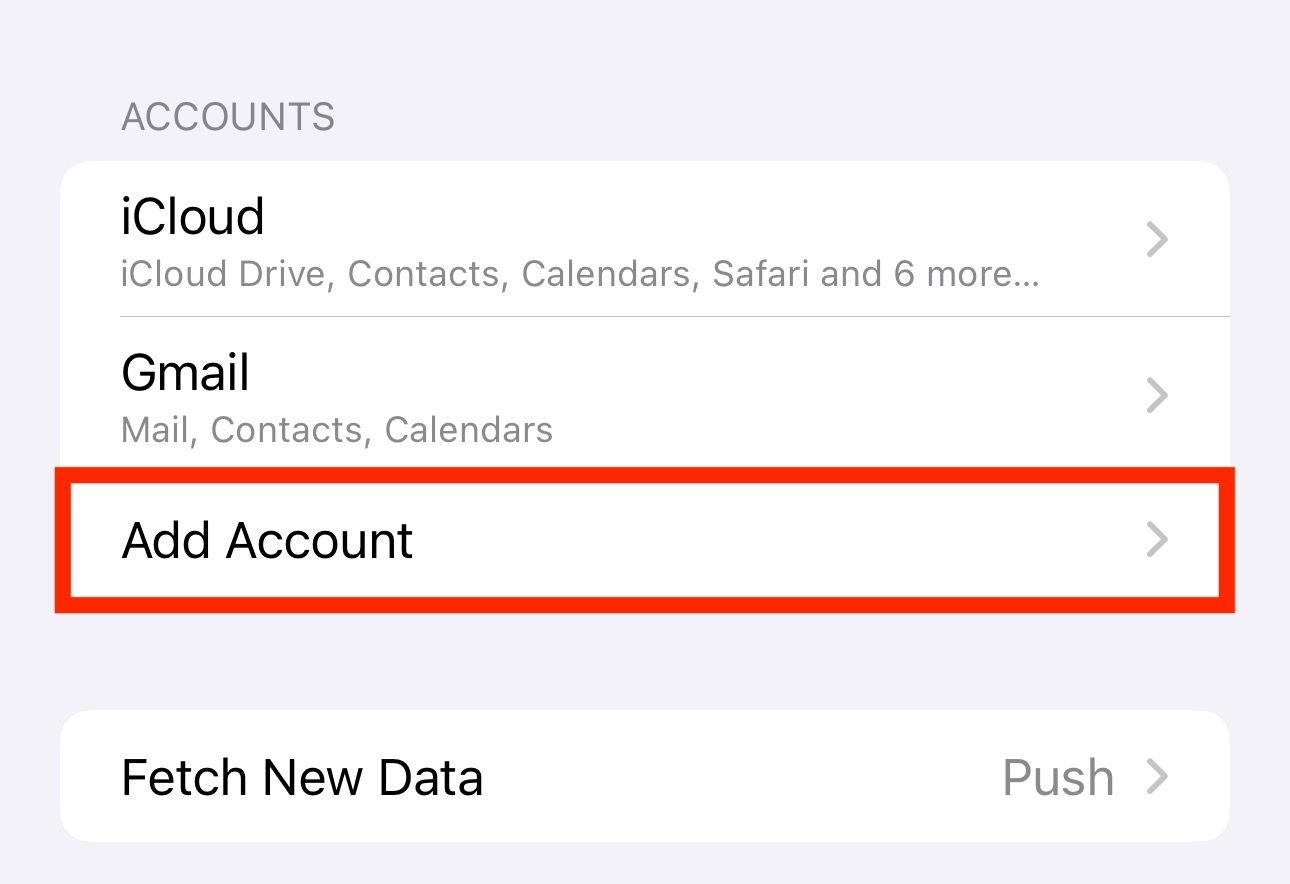
Now, choose the type of account you want to add on the next screen. If yours isn’t on the list, select “Other” and fill in the account details on the following screen.
Follow the on-screen prompts and enter your account credentials to sign in. Finally, make sure the toggle for Mail is turned on and hit “Save.”
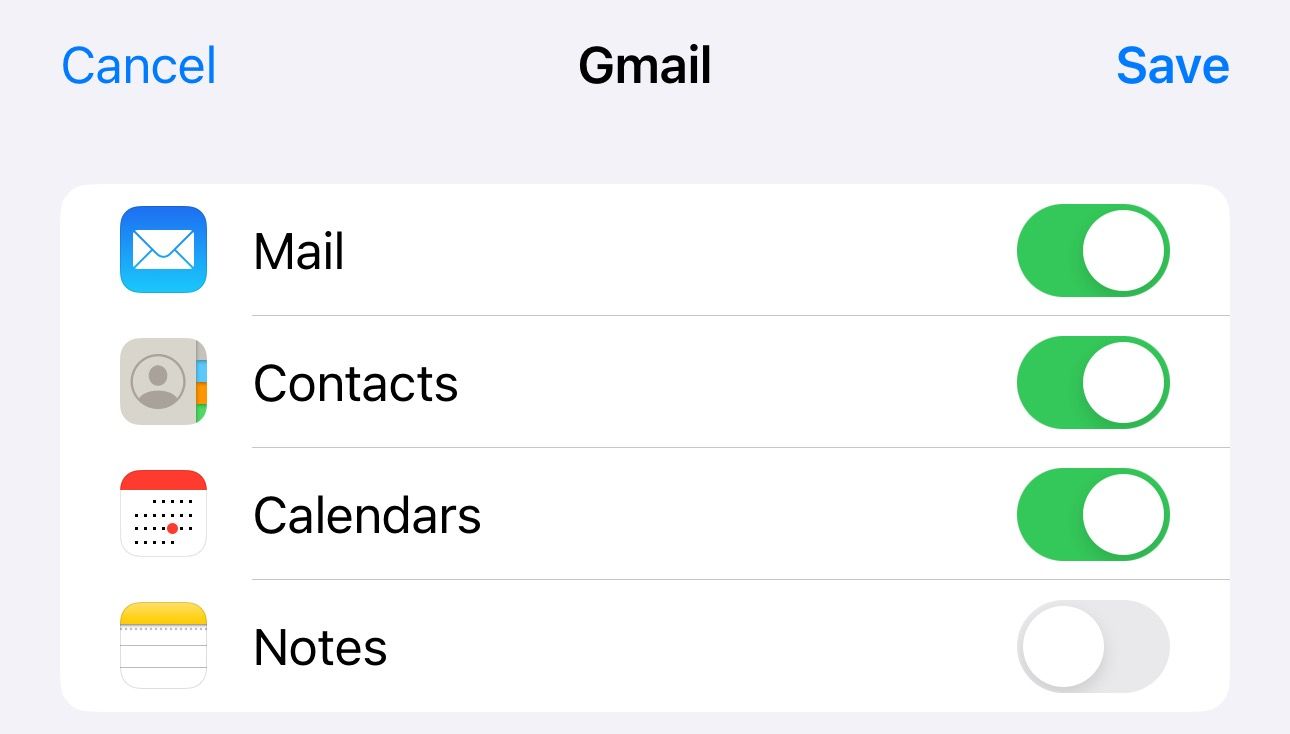
Once your account is added, you can find it under “Mailboxes.” From here, you can also jump back and forth between all your accounts to view or send emails.
With multiple accounts added to Apple Mail, each time you compose a new email, you’ll have to manually select the account from which you want to send it. But you can save yourself the hassle by setting up a default account for Apple Mail.
To do this, go back into Settings and select “Mail.” Under “Composing,” select “Default Account” and tap on an account you want to set as the default account in Apple Mail.
Unsubscribe to Emails Faster
If your inbox is cluttered with unwanted emails, Apple Mail makes it easy to unsubscribe to them right from your iPhone.
In the Mail app, open the email you want to unsubscribe to, and you’ll see a banner at the top with the message, “This message is from a mailing list.” Below this message, you’ll find an “Unsubscribe” button.
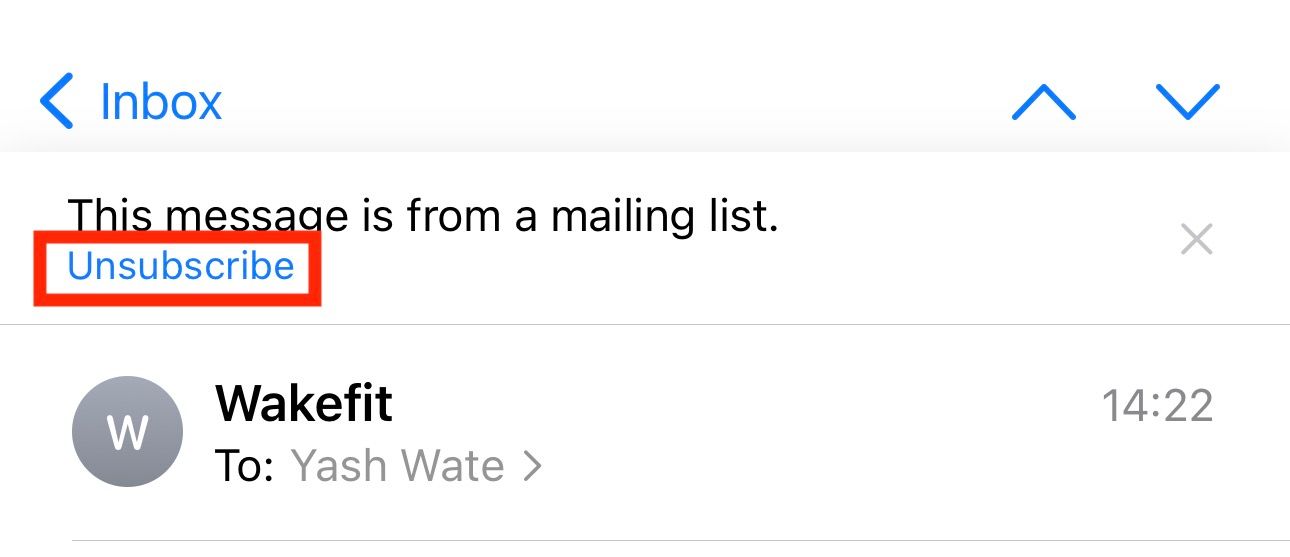
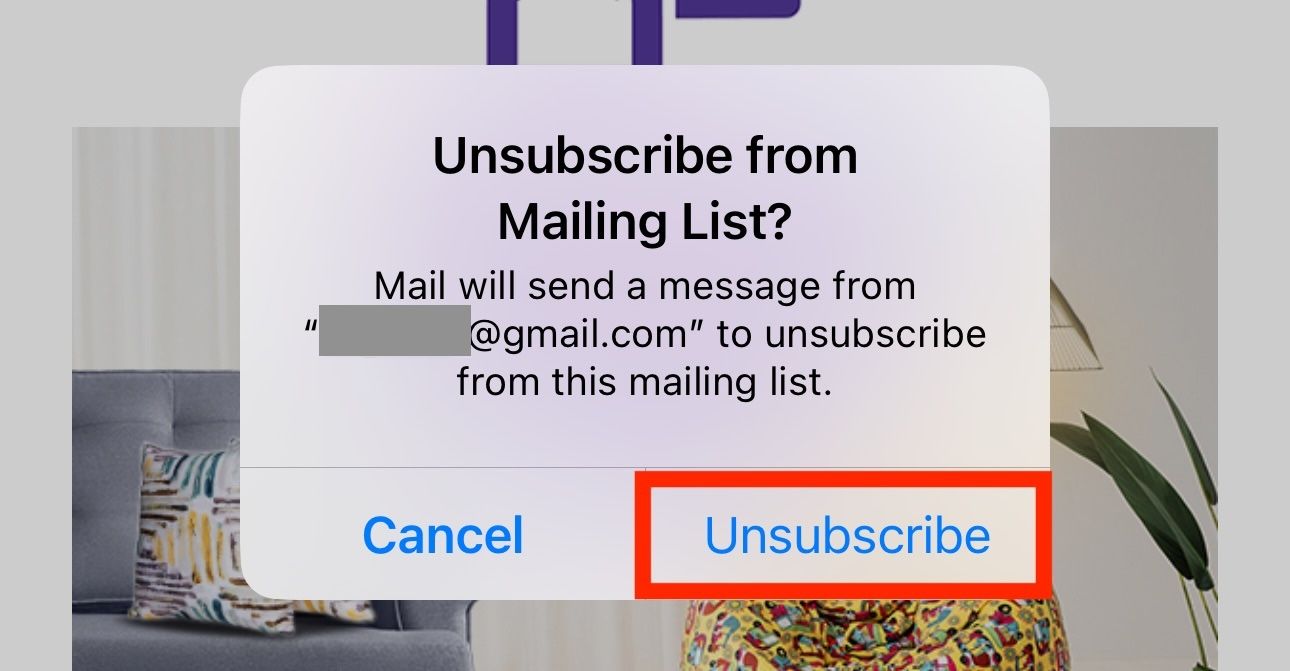
Tap it, and when prompted to confirm unsubscribing, hit the “Unsubscribe” button in the pop-up box.
Customize Swipe Actions
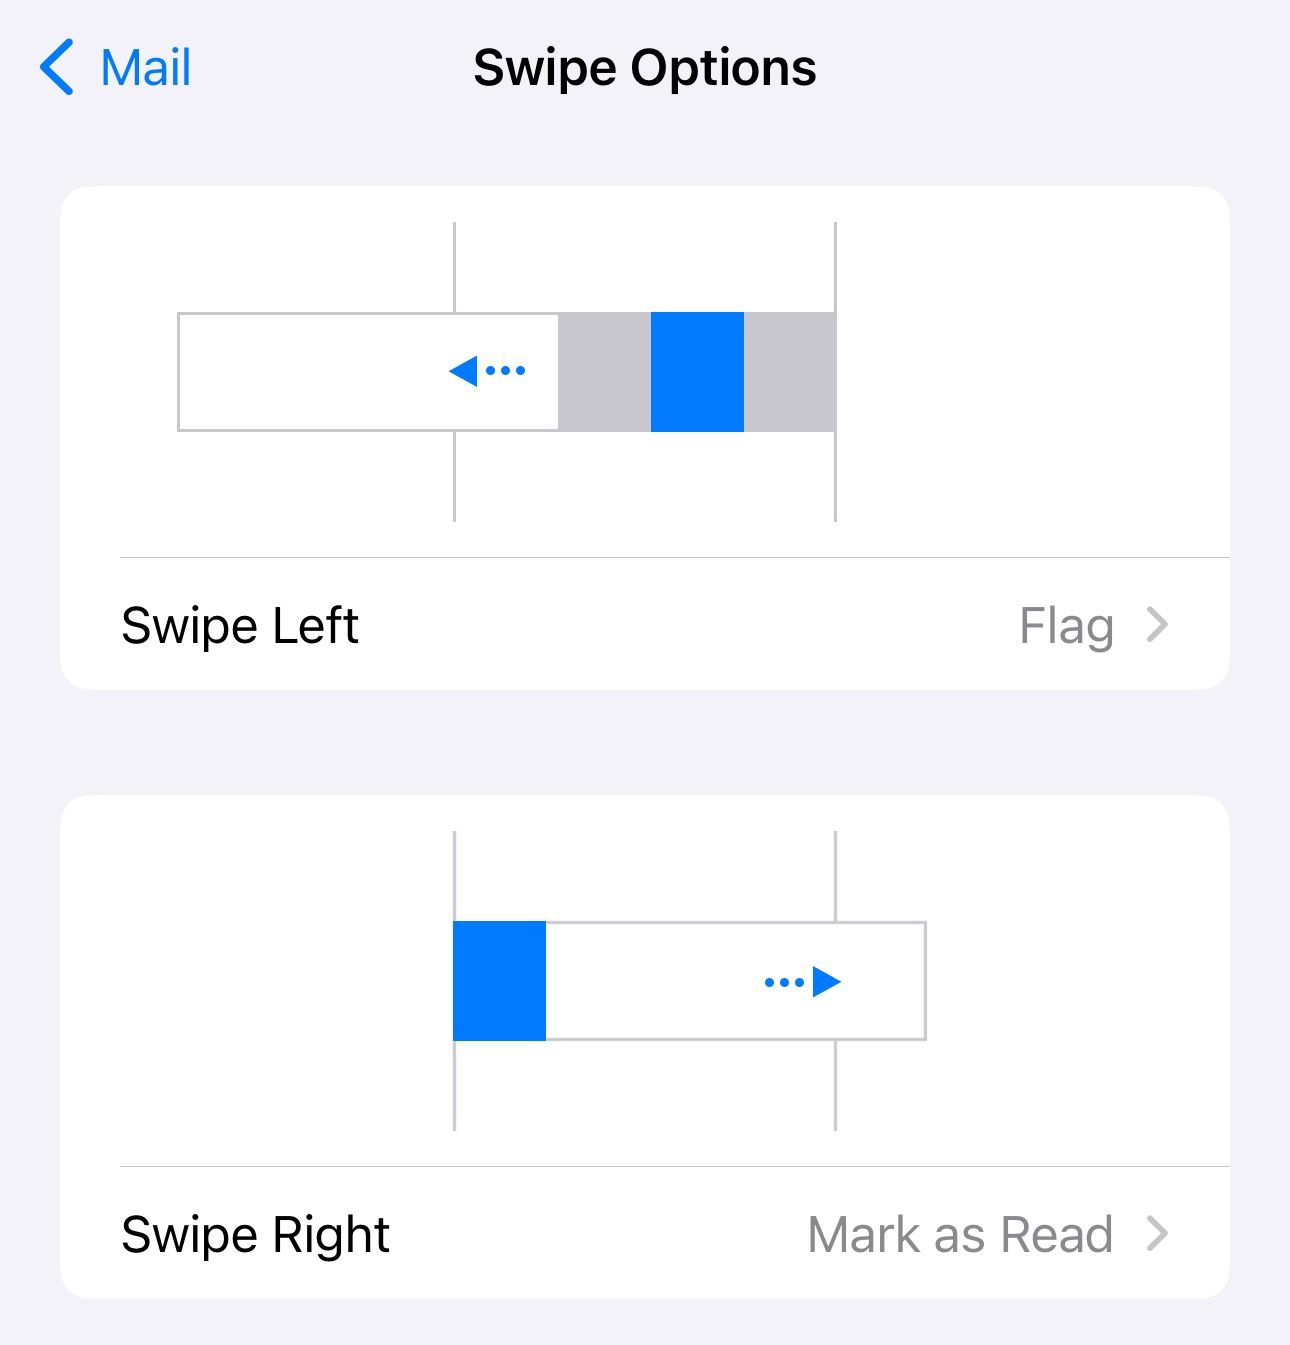
Apple simplifies some of the email operations in the Mail app with swipe actions. You can access these actions by swiping left or right on an email.
By default, the swipe left gesture reveals the “Flag” option, whereas the swipe right gesture is set to show “Mark as Read.” But if you find these actions less useful, you can customize the gestures to show actions you use more frequently.
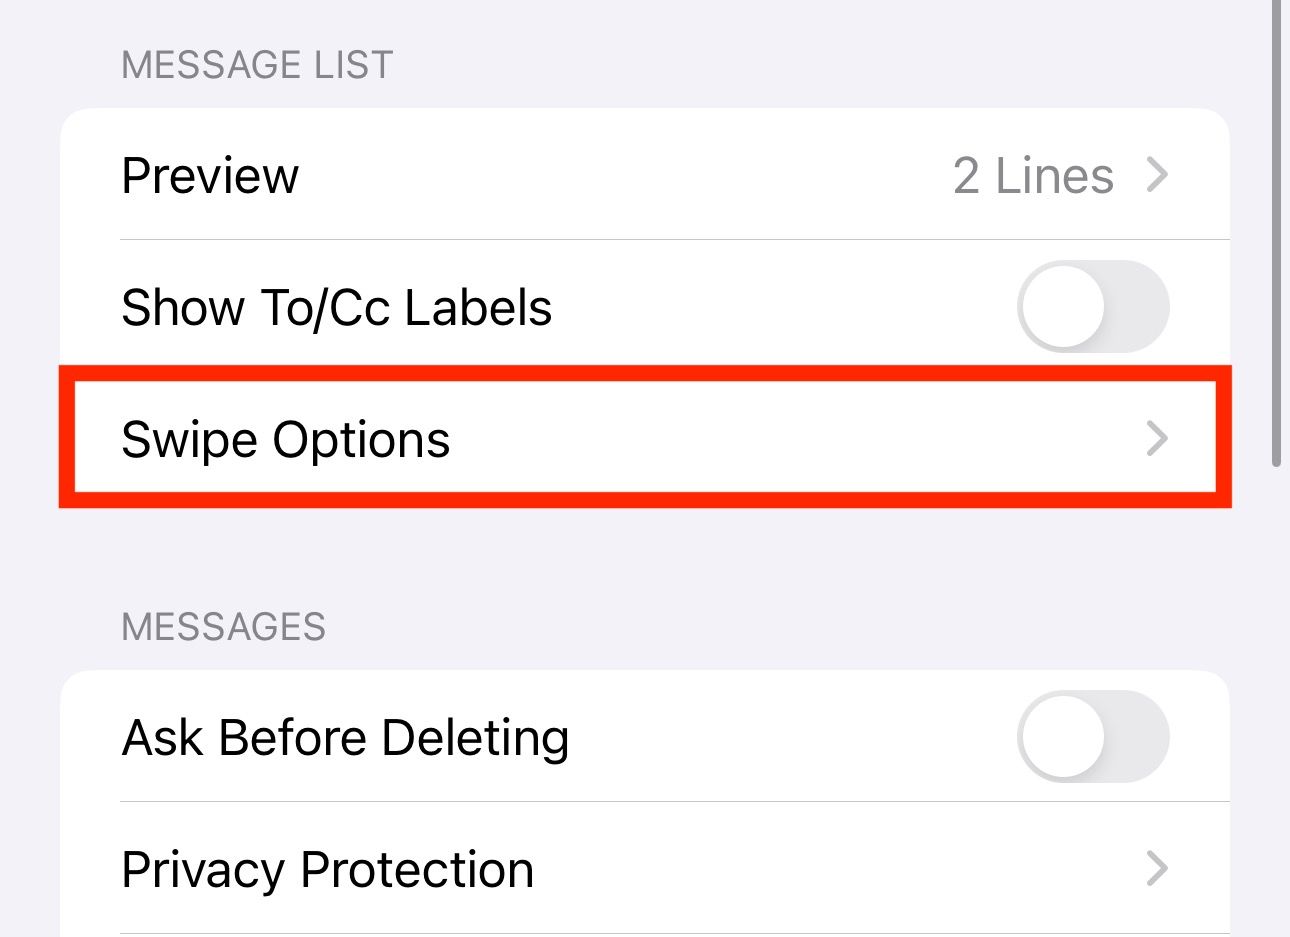
To do this, go to Settings and select “Mail.” Under “Message List,” select “Swipe Options.”
Now, tap on a gesture and, on the next screen, select the action you want to assign to it.
Apple has been updating the Mail app over the years to make it more useful. It’s easy to get started with for new iPhone users, and the recent feature additions make it a more appealing email app for most people.
That said, Apple Mail has its shortcomings and isn’t suited for everyone’s needs. So, if you want advanced features like a smart inbox, advanced search, or deeper integration with third-party services, you’ll have to use third-party apps like Gmail, Spark Mail, or Edison Mail.
Also read:
- [New] Unveiling the Game Changer - Samsung UE590 4K Monitor
- [Updated] 10 Highly-Trusted Free Video Communication Tools with Security Features for 2024
- 2024 Approved Crafting Co-Exclusive Brands and YouTube Experiences
- 2024 Approved W10 Ultimate Screen Replay Suite
- Get the Latest Windows Drivers for Focusrite Scarlett 18I20 Audio Interface
- Hard Reset Vivo V29 Pro in 3 Efficient Ways | Dr.fone
- How To Repair The ‘NoEntryPointFound’ Error on Your Computer's Operating System
- In 2024, Latest Guide How To Bypass Oppo A2 FRP Without Computer
- Uncover the Hidden Identifier: Easy Steps to Determine Your iPhone's MAC Address
- Understanding the 'Current Period' Feature in iPhone Cellular Data Settings: A Comprehensive Guide
- Understanding the Perplexity of the Latest USB-C Apple Pencil Upgrade
- Unfolding the Potential of Anker's MagGo Qi2 Dual Pad Charger - A Comprehensive Product Assessment for On-the-Go Power Needs
- Unlocking Extended Usage: Activating & Tweaking Your iPhone's Idle Settings
- Unlocking Full Potential: Top 10 Must-Try Features of Popular iPhone Photography Apps
- Unveiling Gemini: The Successor of Google's Original Voice Assistant
- Title: Mastering Professional Email Management: A Top-Ten Guide to Utilizing Apple's Mail App on Your iPhone
- Author: Daniel
- Created at : 2024-10-04 19:17:27
- Updated at : 2024-10-12 07:46:10
- Link: https://os-tips.techidaily.com/mastering-professional-email-management-a-top-ten-guide-to-utilizing-apples-mail-app-on-your-iphone/
- License: This work is licensed under CC BY-NC-SA 4.0.